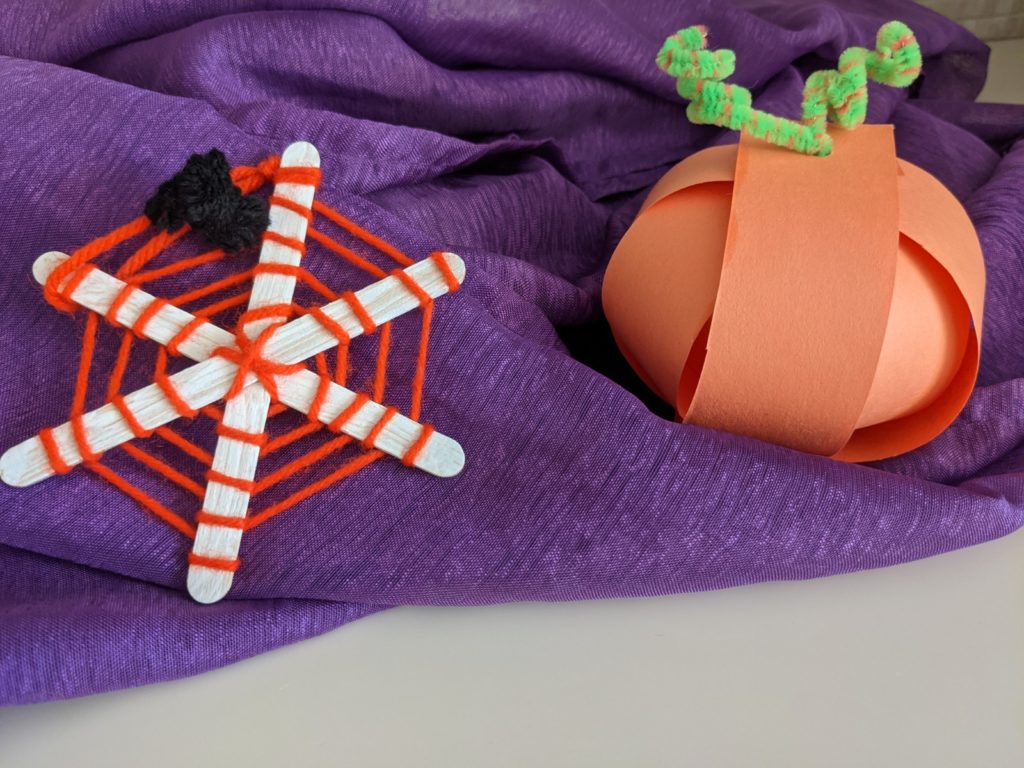
When you think of pumpkins, you probably think of pumpkin pie or a Jack-o’-Lantern. Did you know that pumpkins are a type of squash in the gourd family cultivated by indigenous people of the Americas for thousands of years? The plant family includes more than 900 different types of gourds.
There are a number of wild members of this family that can be found in the Sonoran Desert, such as, melon-loco, buffalo gourd and coyote melon. Many of these gourds are bitter to the taste and not considered edible like a pumpkin. Today, we use pumpkin in many delicious foods and even as decorations. In the spirit of celebrating Halloween, check out these fun family activities that are perfect for kiddos to practice their fine motor skills.
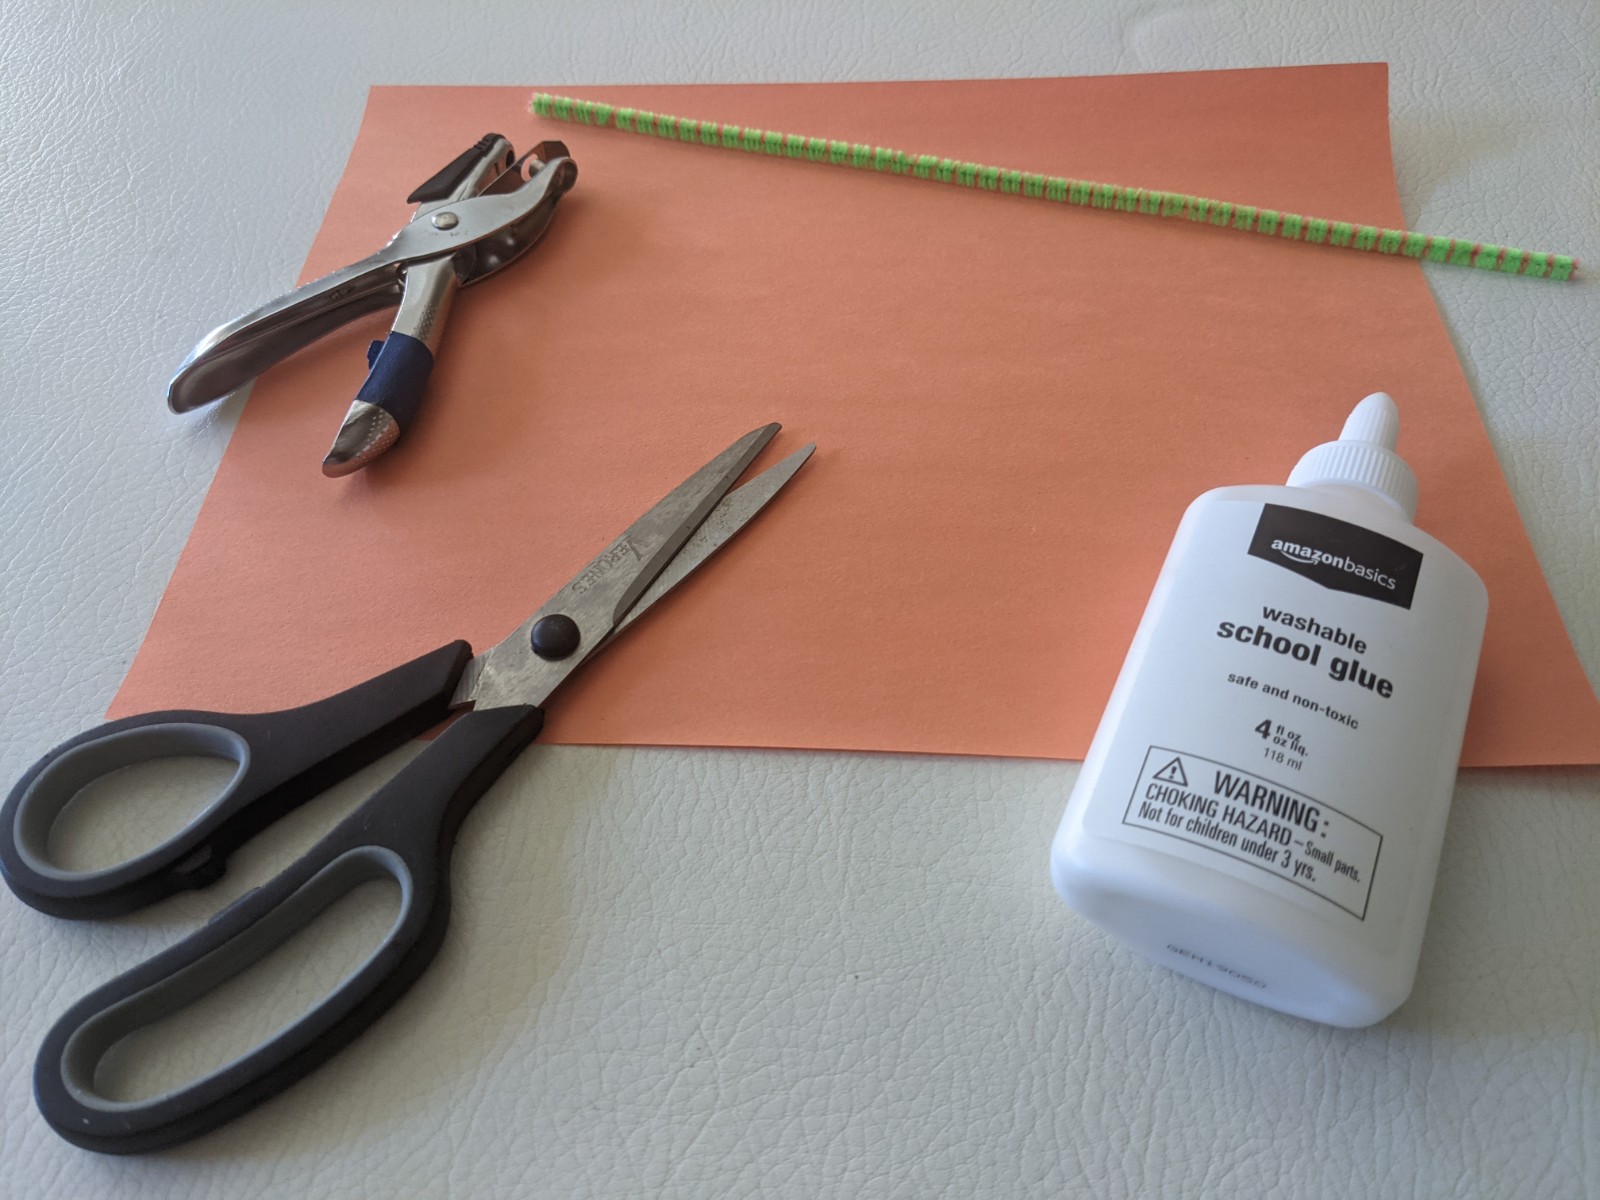
Materials for Pumpkins:
- Paper: one sheet of 8.5×11 card stock or 9×12 construction paper
- One sheet of 12×12 card stock for the larger pumpkin (construction paper does not work well for the larger pumpkin)
- Scissors
- Glue Stick
- Green Pipe Cleaner
- Hole Punch
- Scrap of brown paper (optional)
Directions:
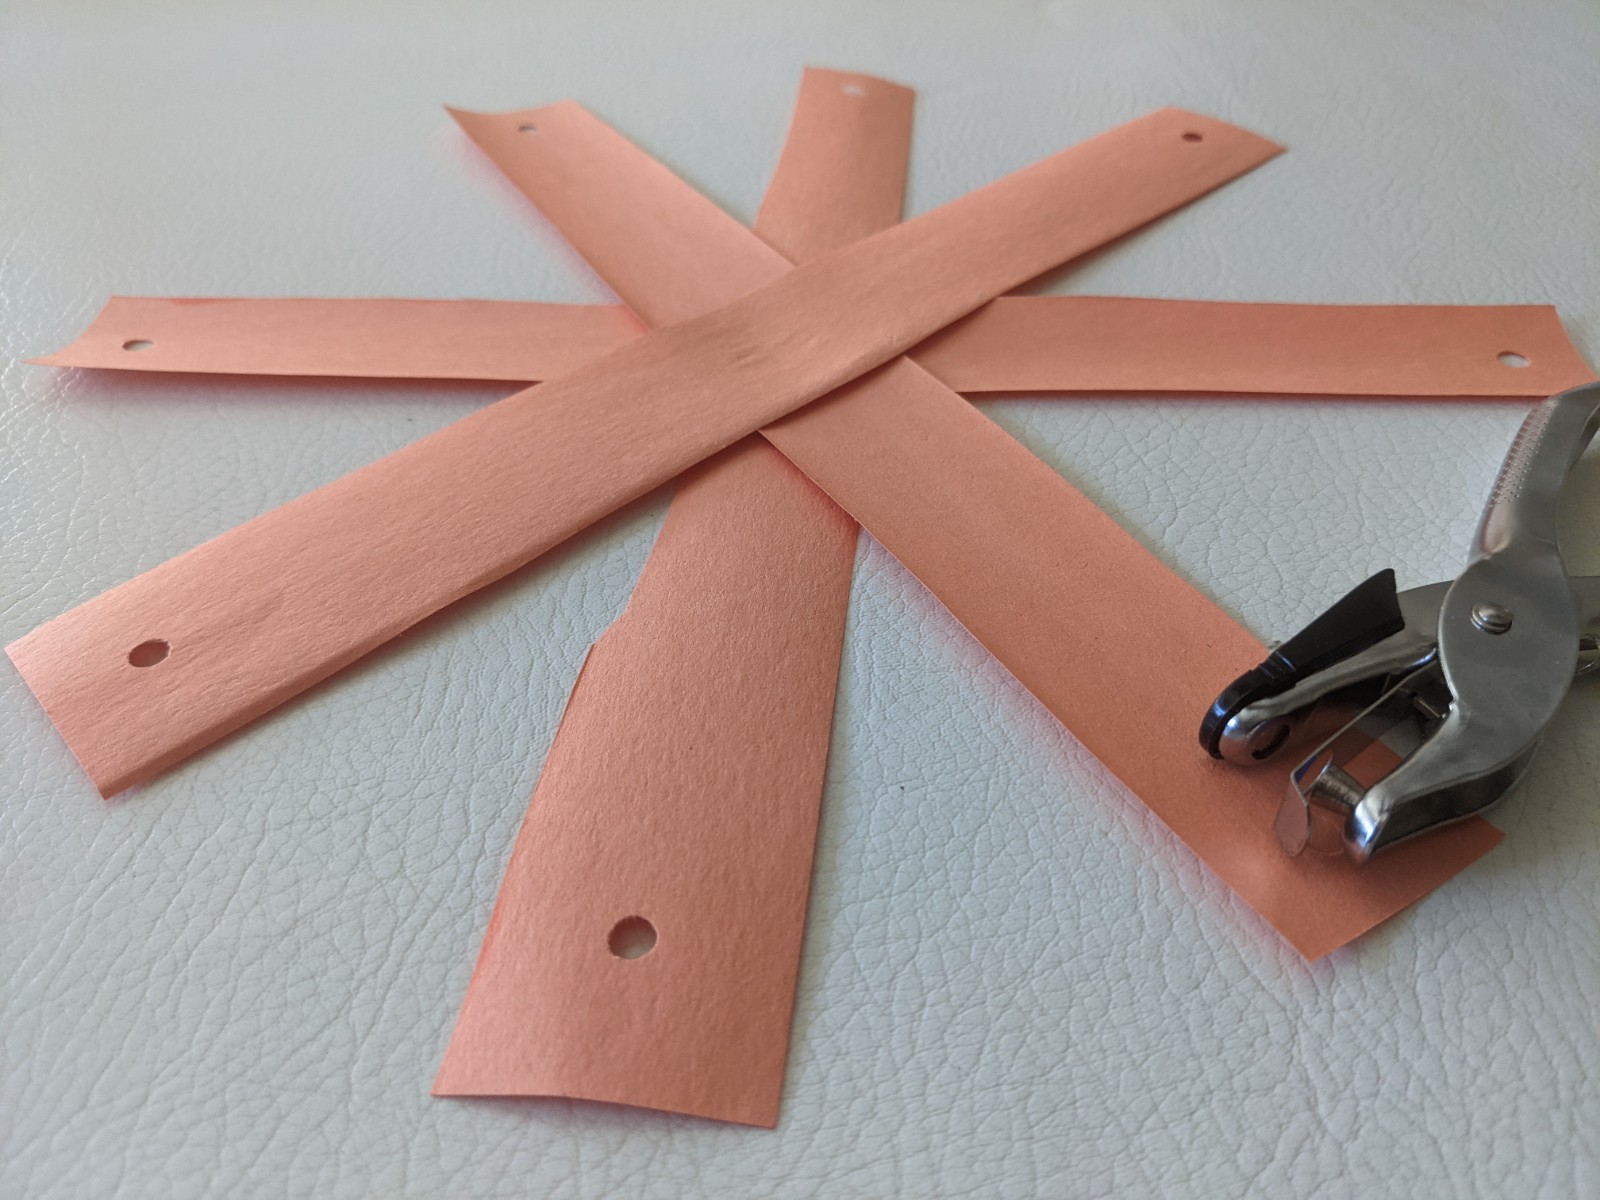
- Cut your paper into 1 to 1.5” long strips (1”, 4 for a small pumpkin and 1.5” 8 for the large pumpkin)
- Now, punch a hole in each end of the paper strips. (Leave about a quarter inch to the end of the strip.
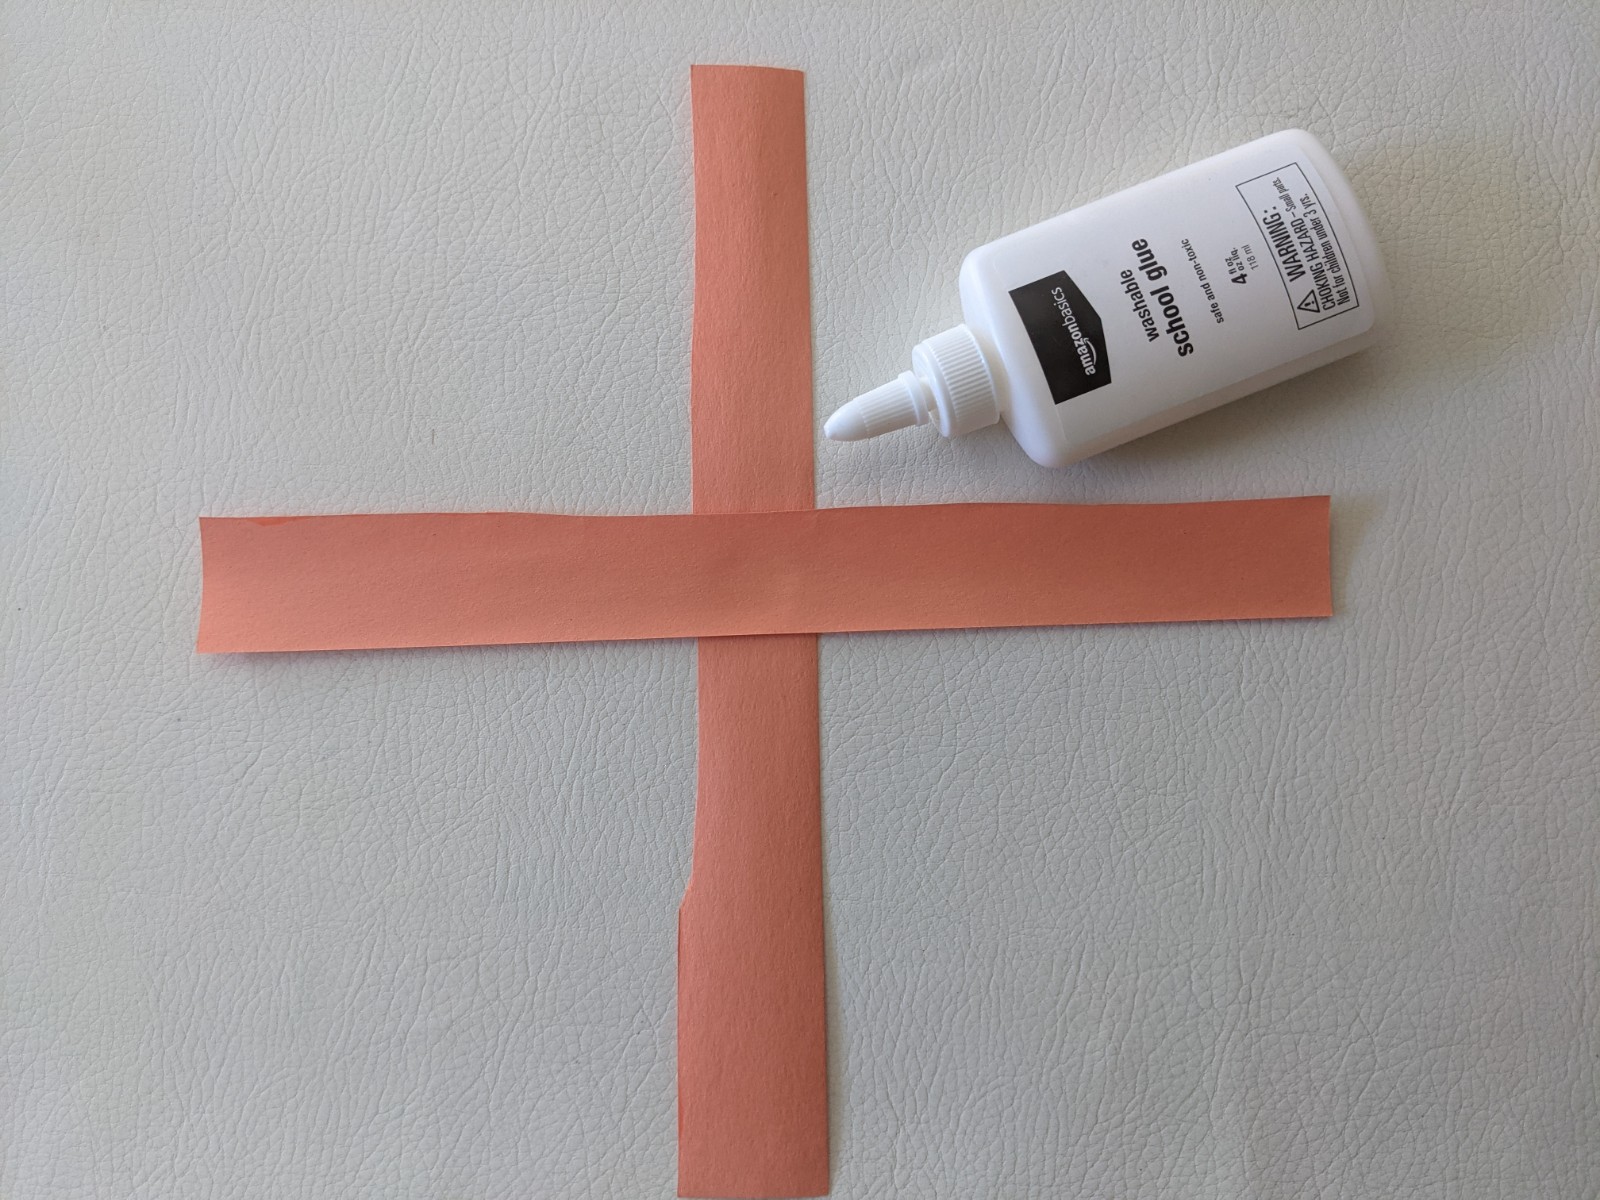
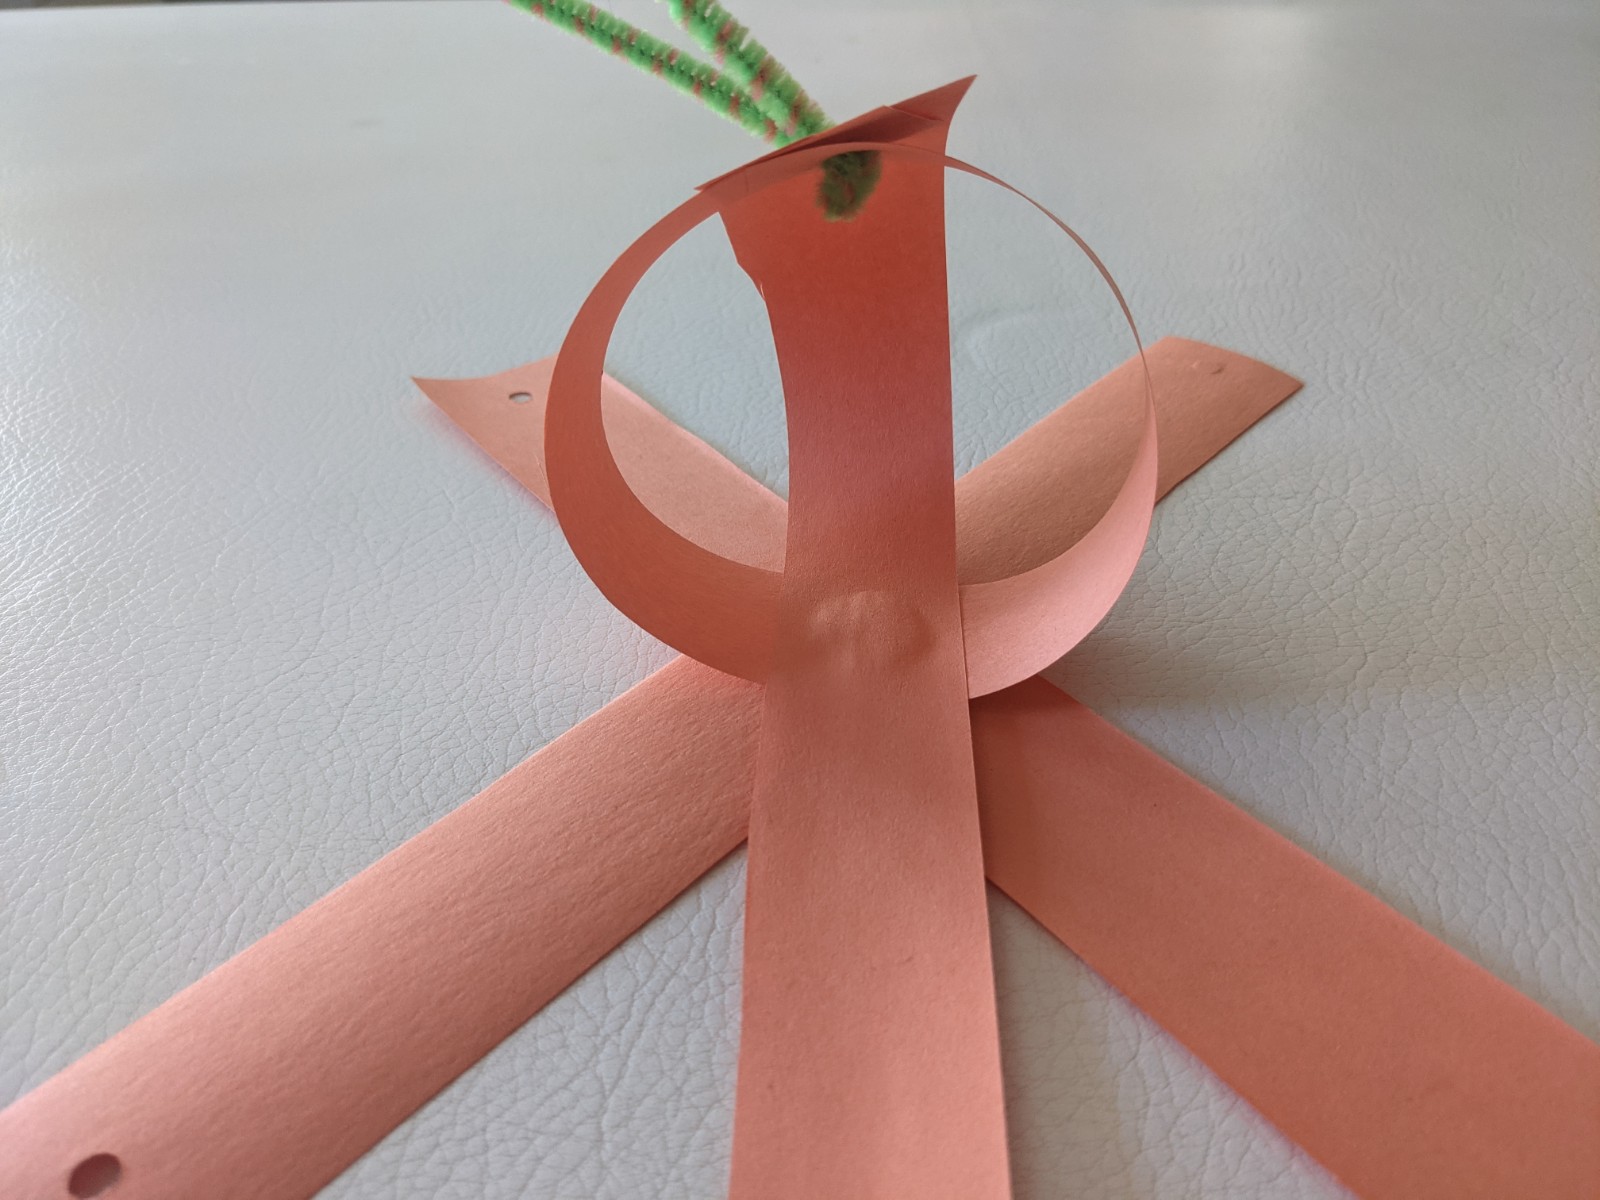
- Glue two strips together in the middle to create a plus sign.
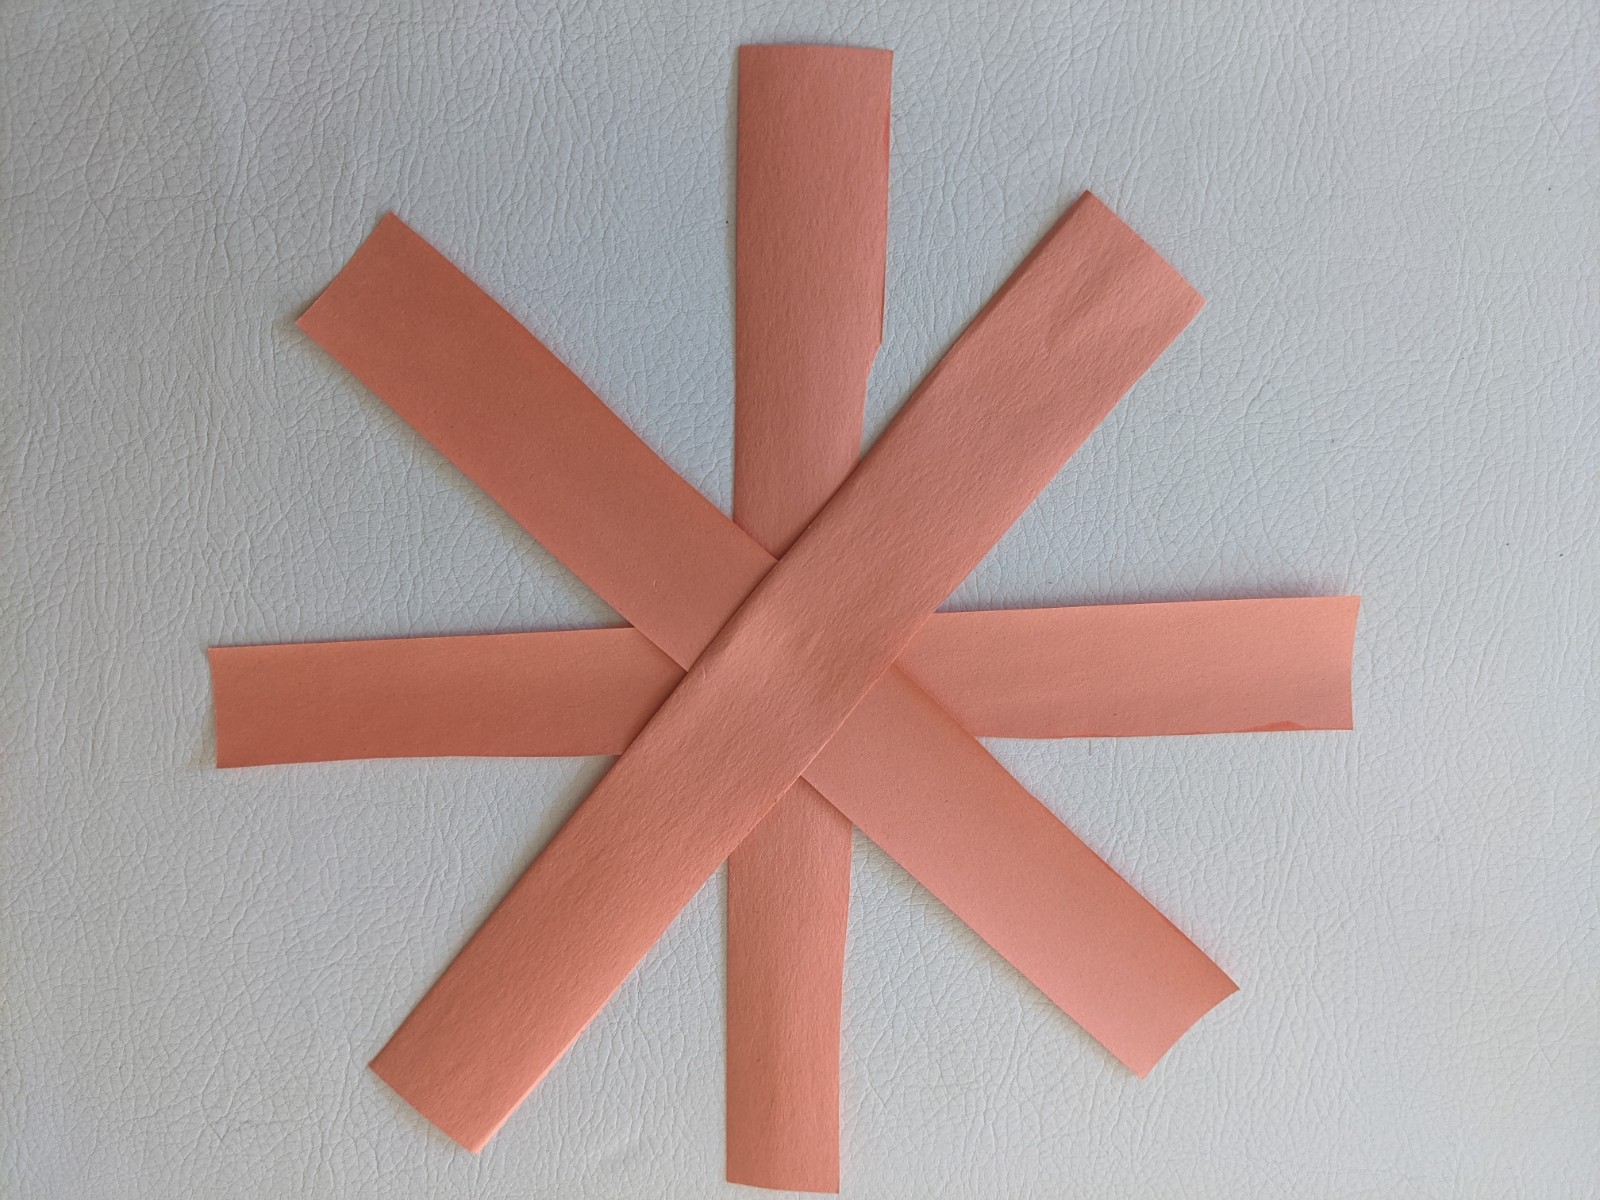
- Next, glue each of the other strips in the center on a diagonal to look like an asterisk. Allow it to dry.
- For the large pumpkin, glue each strip on one end.
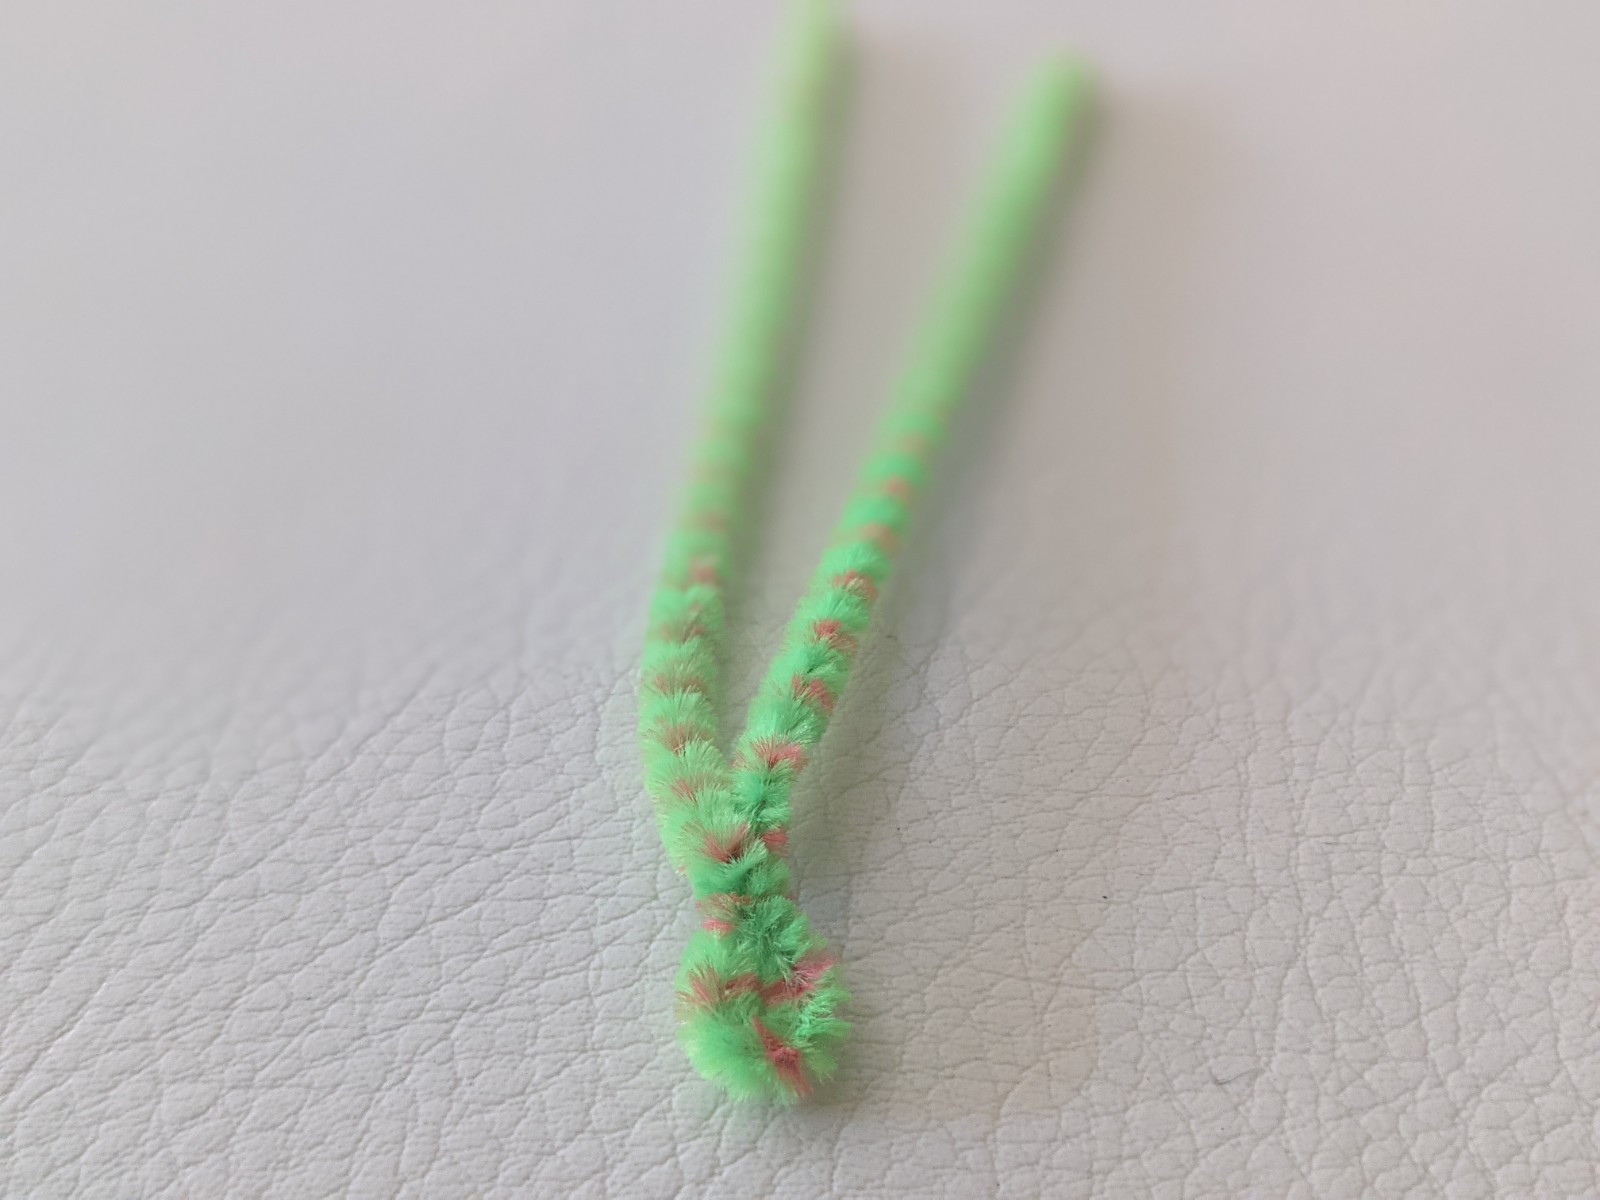
- Get your pipe cleaner and fold it in half and twist it about a half inch from the fold to make a loop.
- Now flatten the loop.
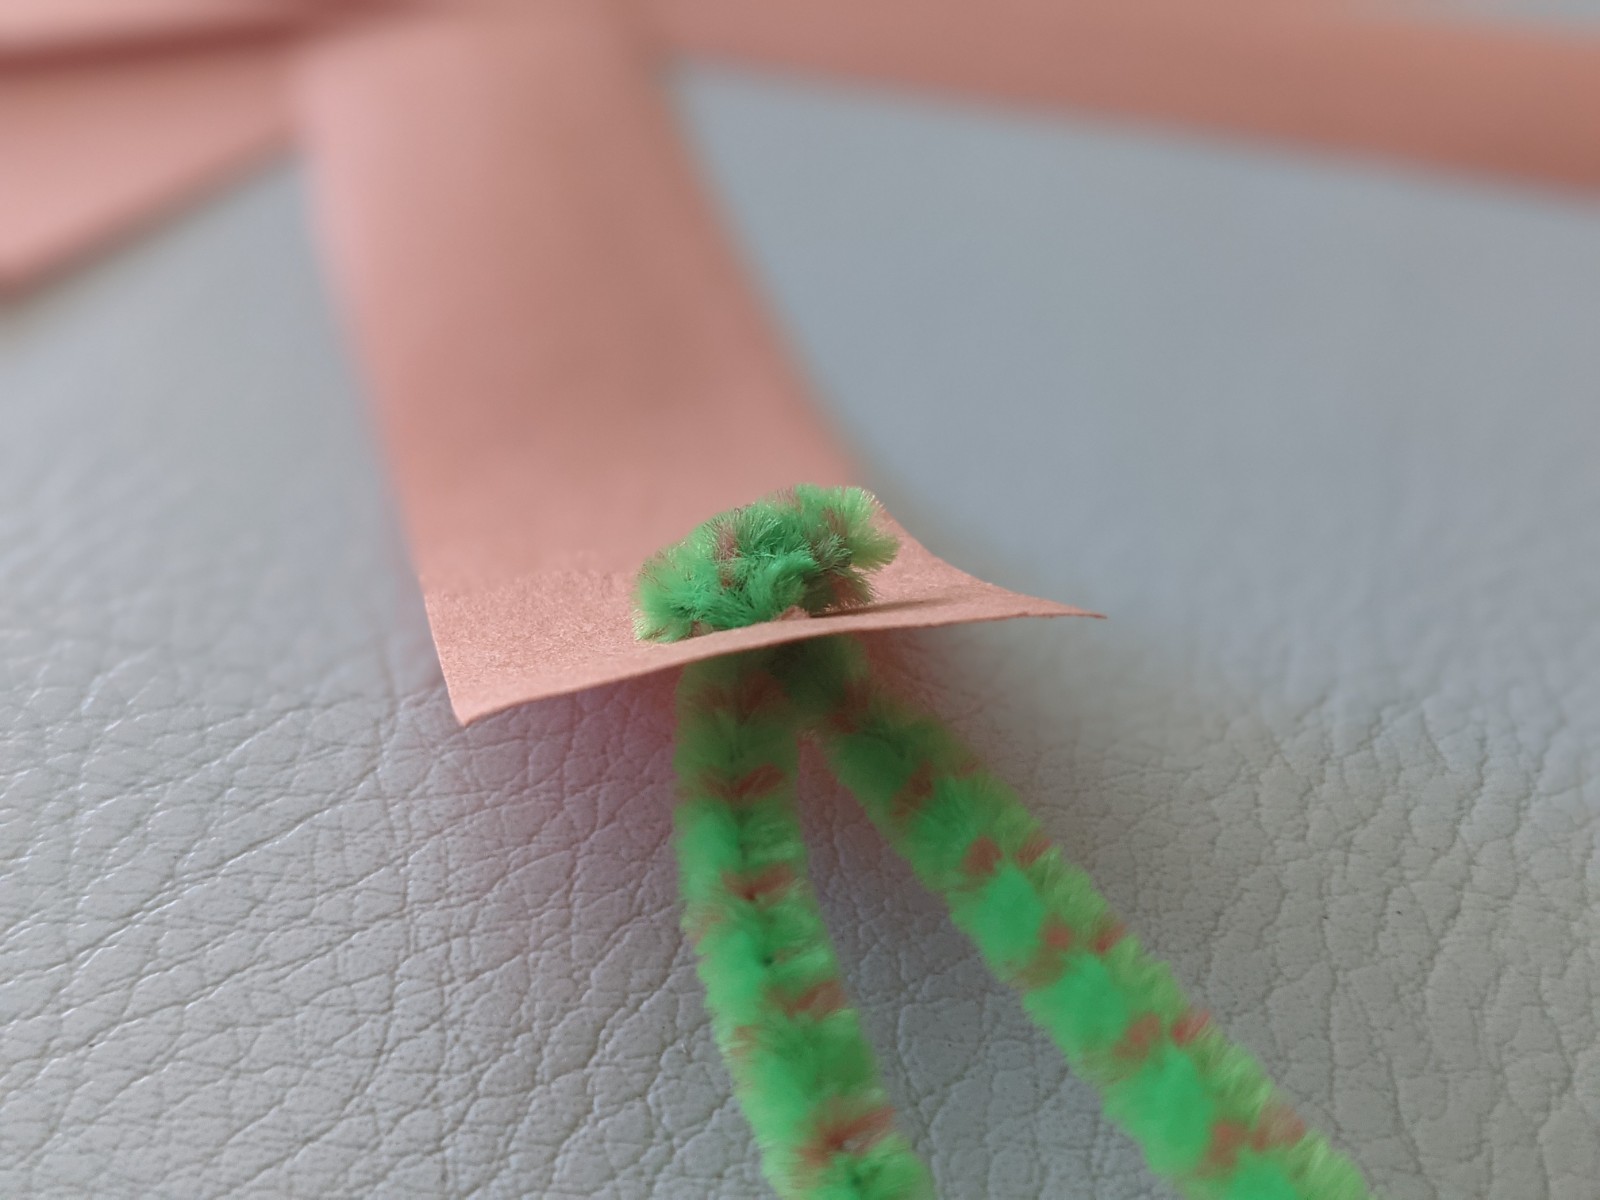
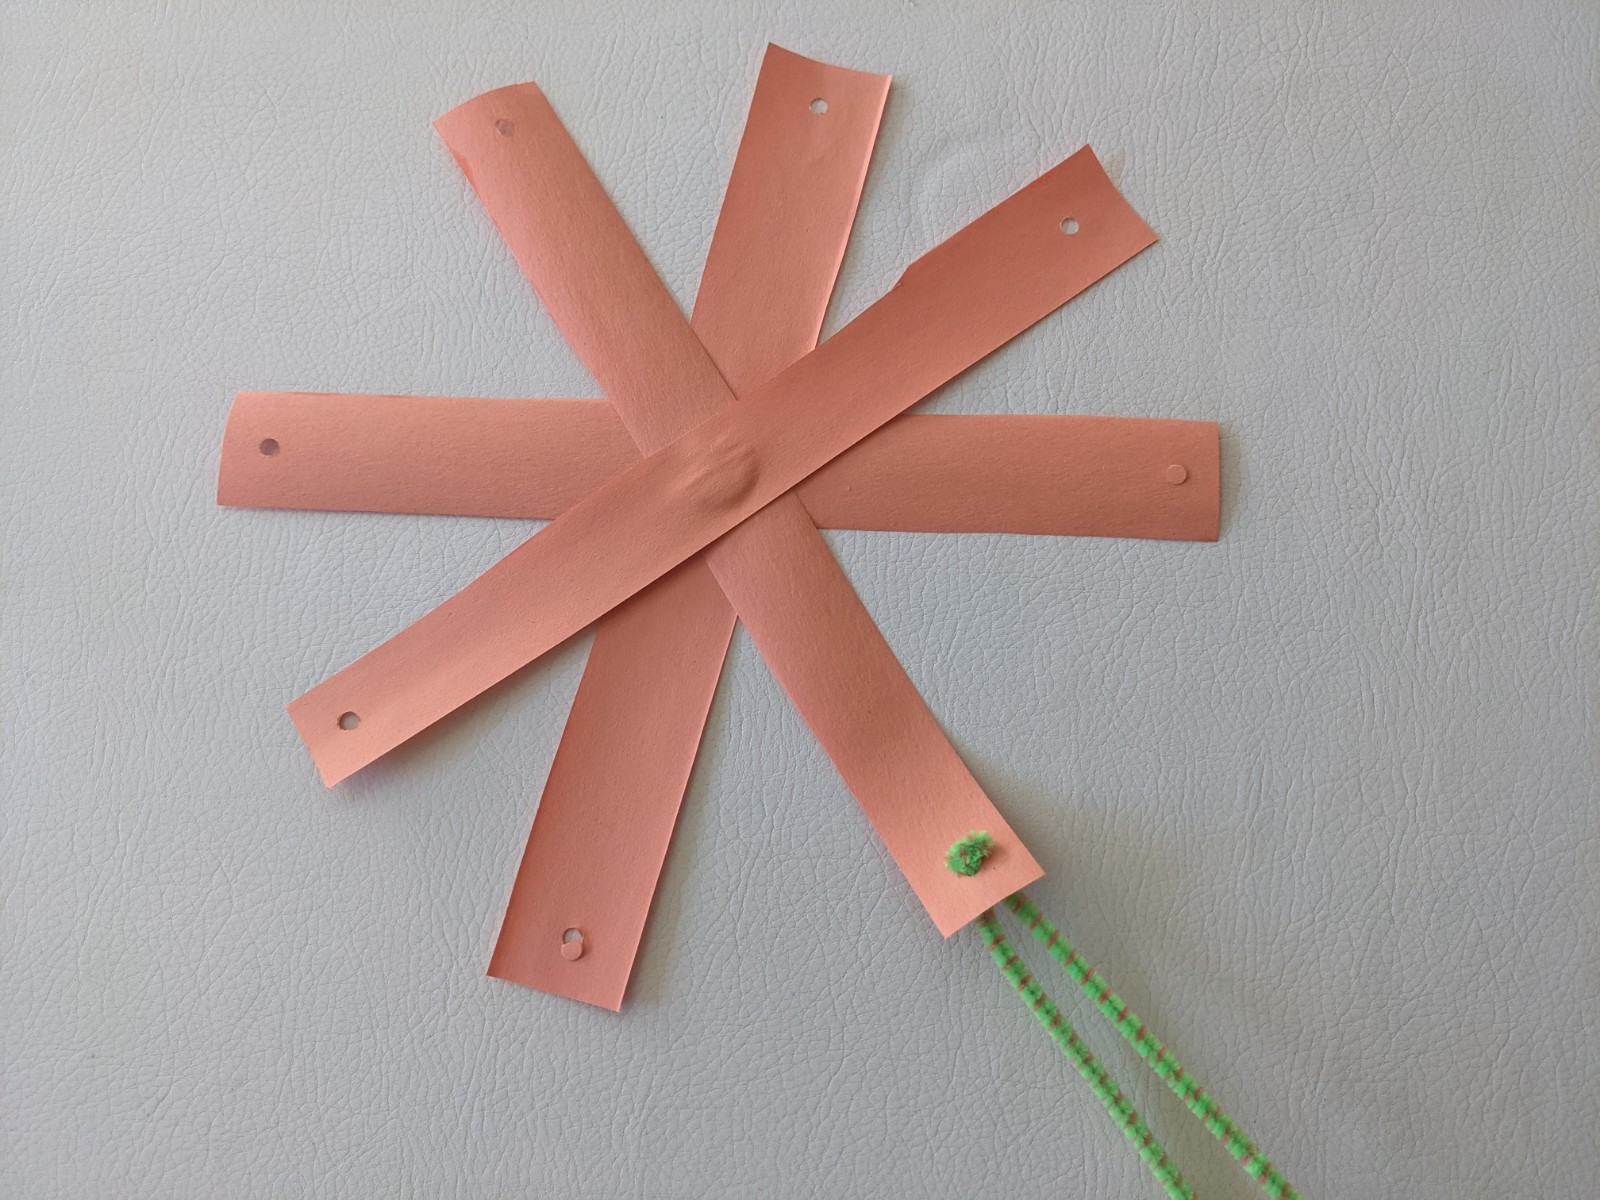
- Take the top strip (closest to you) and feed it through the pipe cleaner.
- Continue to bring each end of the next strip to feed the pipe cleaner.
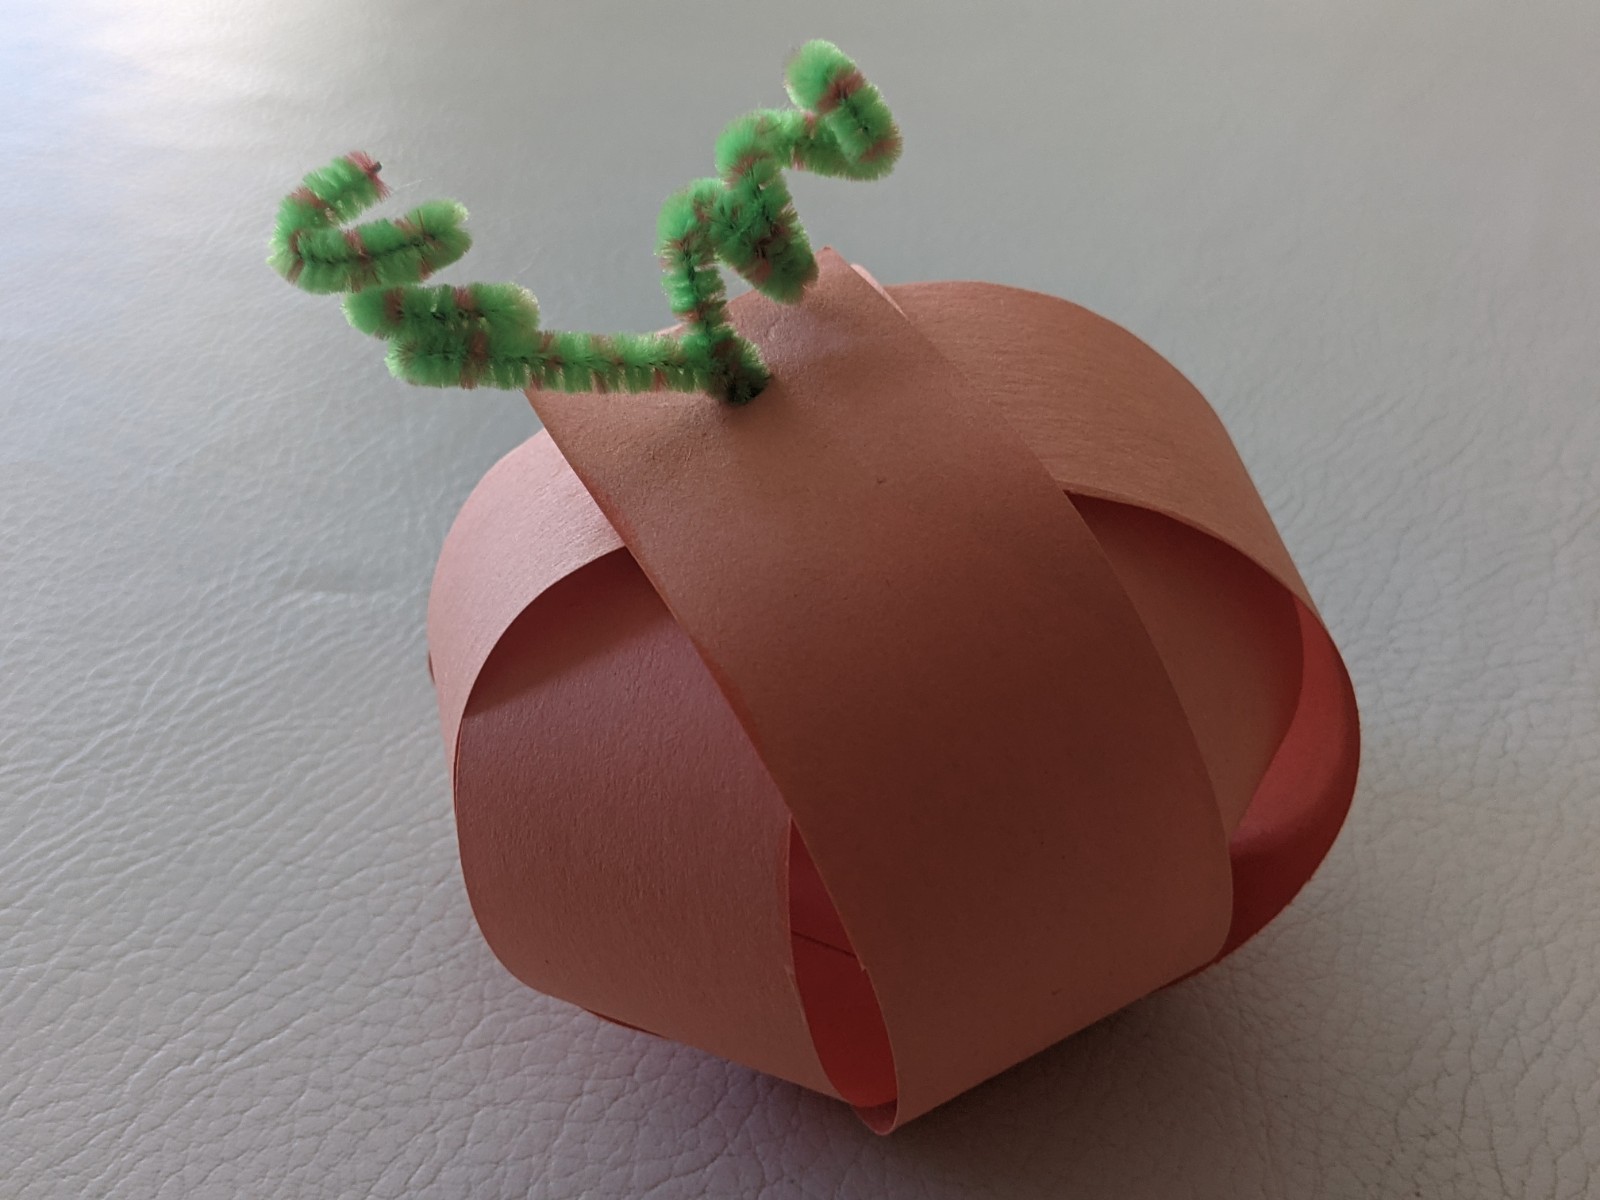
- Now twist the pipe cleaner to secure the strips and curl the ends of the rest of the pipe cleaner a
round your finger. - For the larger pumpkin start with the bottom strip and work your way around the wheel similar to
the small pumpkin. - Twist a scrap of brown paper to create a stem and clue it to the pipe cleaner or the pumpkin
(optional)
Materials for Spider Webs:
- Popsicle sticks or sticks (3)
- Orange, black or white paint (preferably tempera)
- Yarn
- Paintbrush
- Glue
- Scissors
- Plastic spiders (optional)
Directions:
- Paint the popsicle sticks or sticks with an even coat.
- While your paint dries, cut your yarn into one long 5’ piece
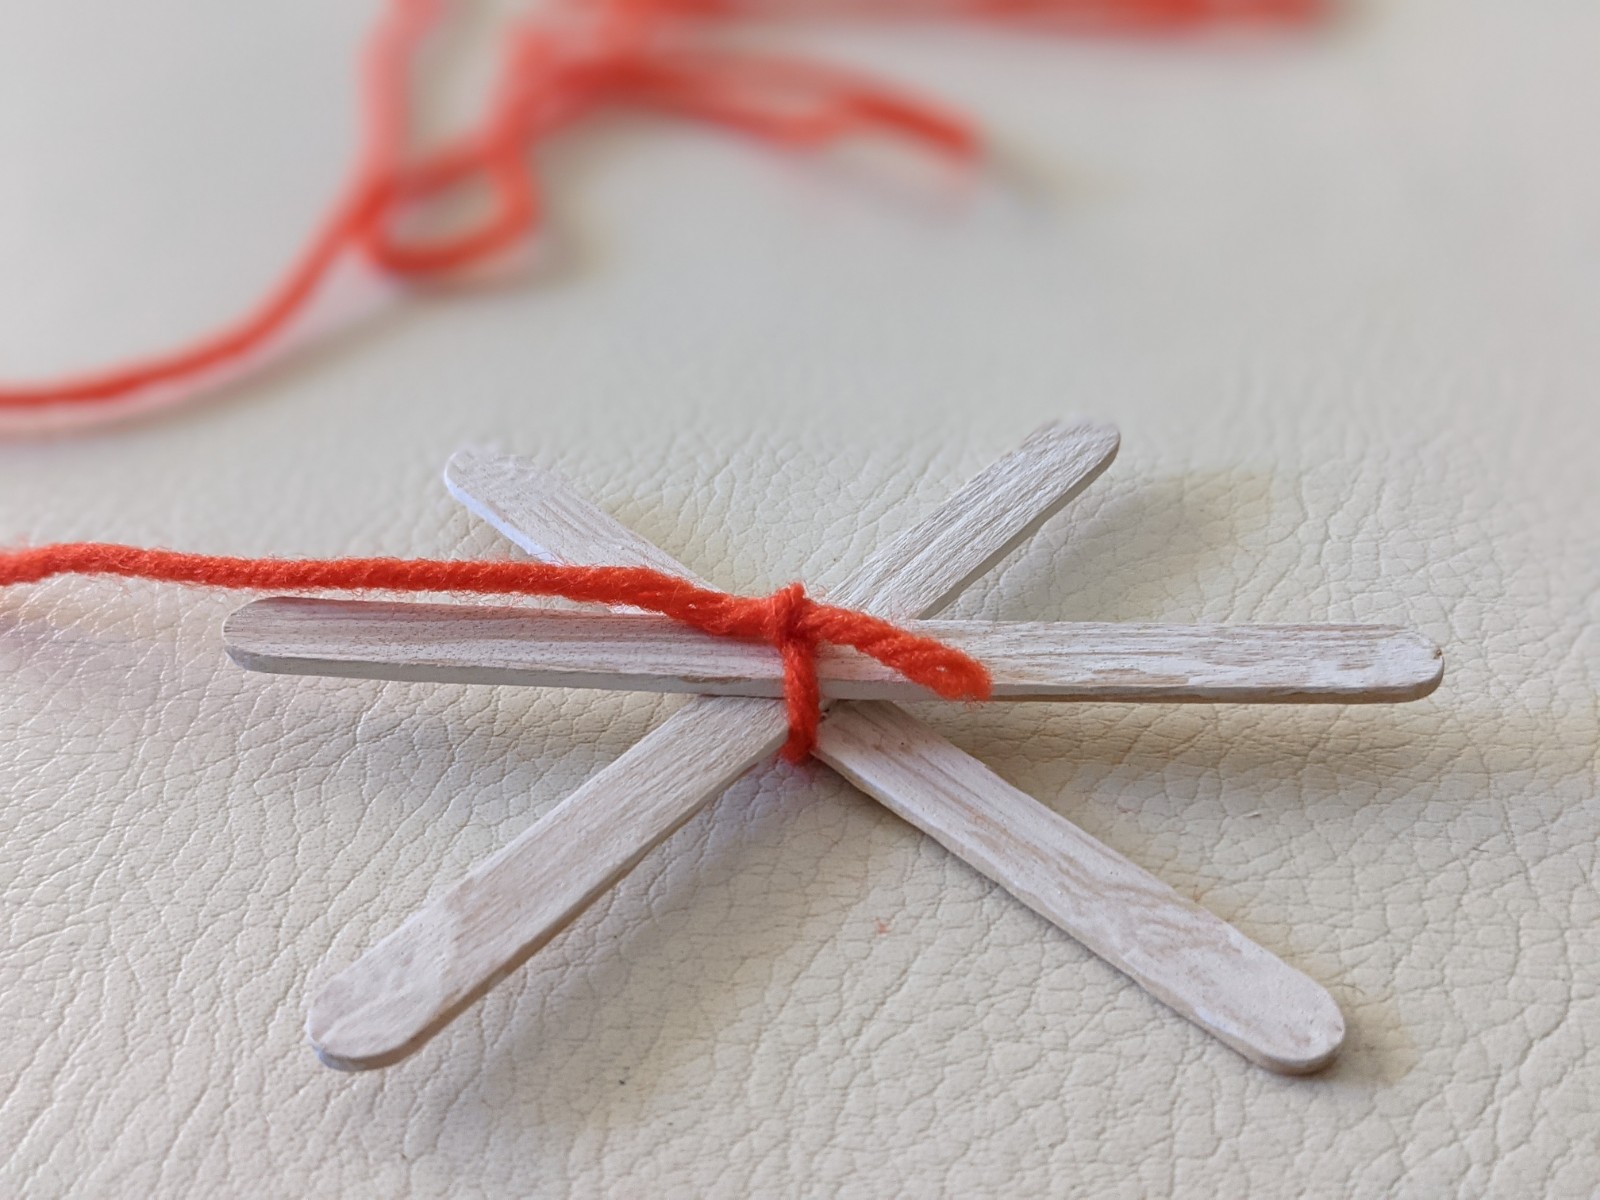
- When the paint has dried take your popsicle sticks or sticks and glue them onto of each other at the center to make an asterisk.
- Once the glue has dried tie the end of your yarn onto the middle of the back of your popsicle sticks or sticks
- Wrap the yarn around the front and through each section in the middle.
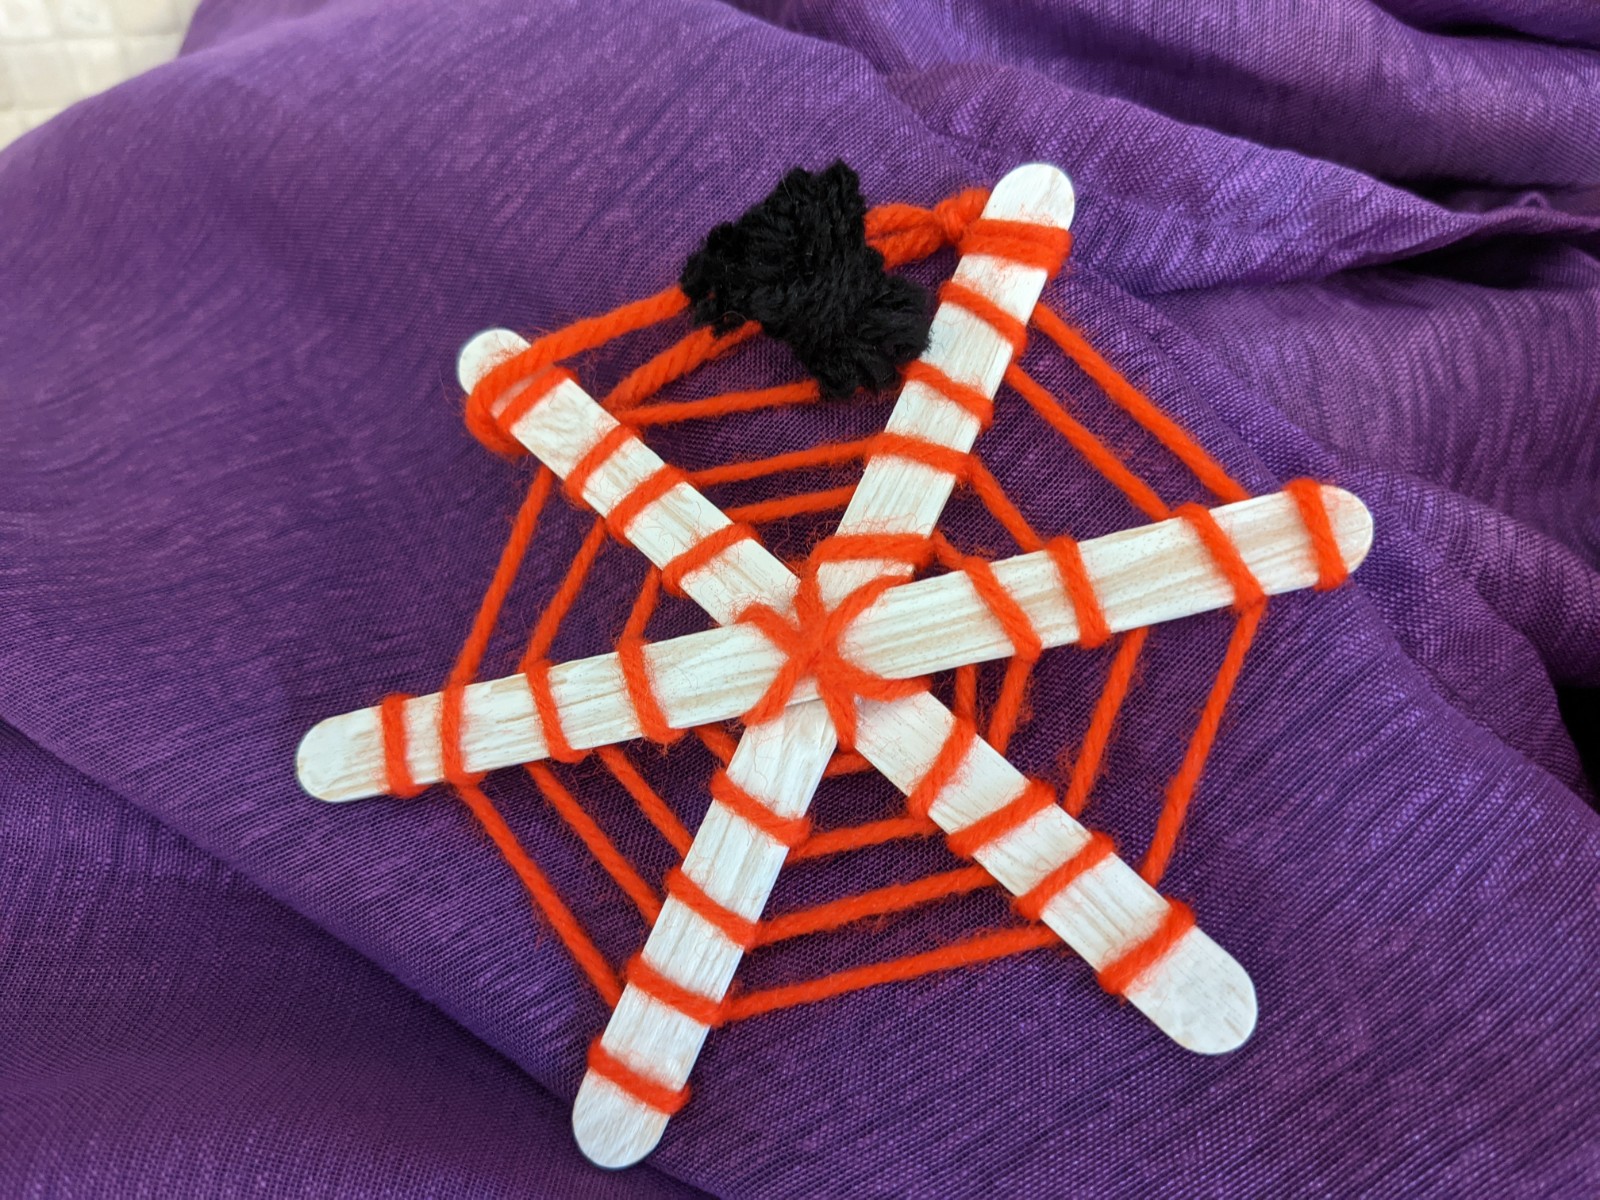
- Wrap the yarn over and around the popsicle sticks or sticks. Repeat this step, over and around and under, over, around, under, as your move around the circle of your web.
- Once you have reached the end of the yarn, wrap it around the popsicle stick or stick.
- Add your plastic spider to anywhere on your web. (optional) We made ours from a balled-up piece of
black yarn.
