Courtesy of Tavo Ruffo, Fabulous Food Fine Catering & Events and Gertrude’s Restaurant
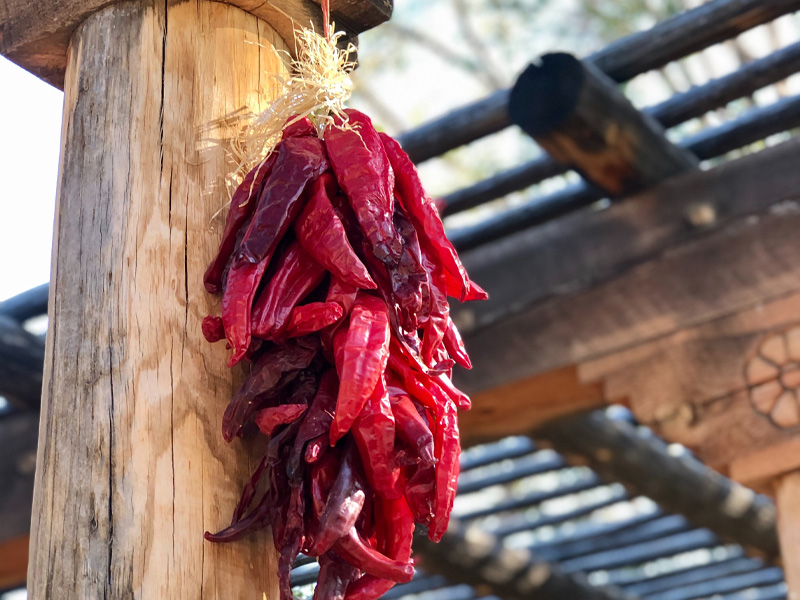
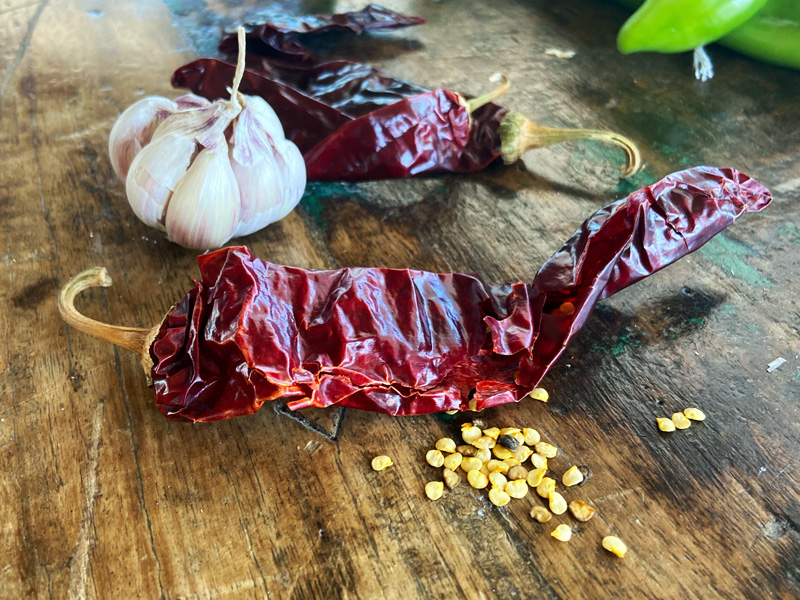
Add some Southwest flare to your décor this holiday season. This ristra is multi-purpose–after enjoying it’s color-changing beauty, use the dried chiles in cooking. Fun fact: while you’ll start with green chiles, you will see them transition from green to yellow to red!
Materials needed:
- Scissors
- Twine/string
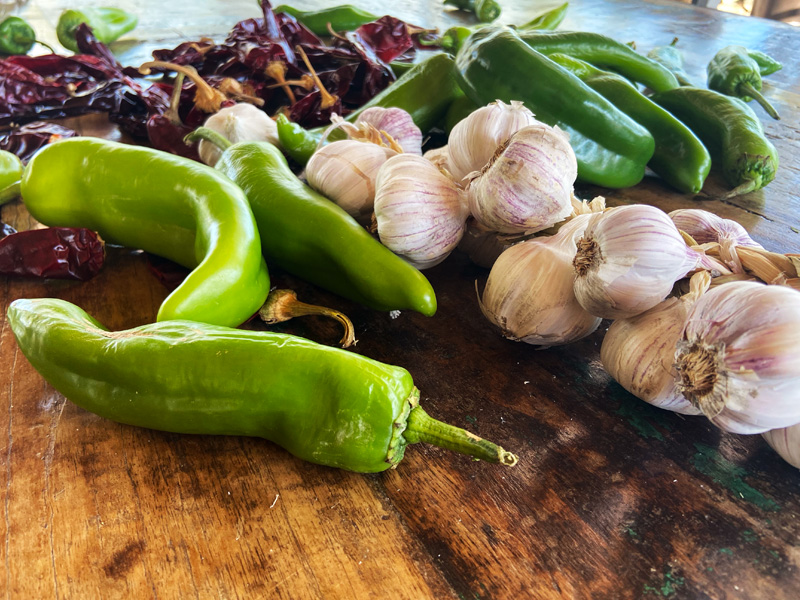
- 50 – 60 green chiles (to make a 1.5 -2 foot ristra). It is important to select chiles with stems that will be able to withstand a tight knot. If you try to make your ristra with dry chiles you risk breaking the brittle stems
- Corn husks (for decoration)
Instructions:
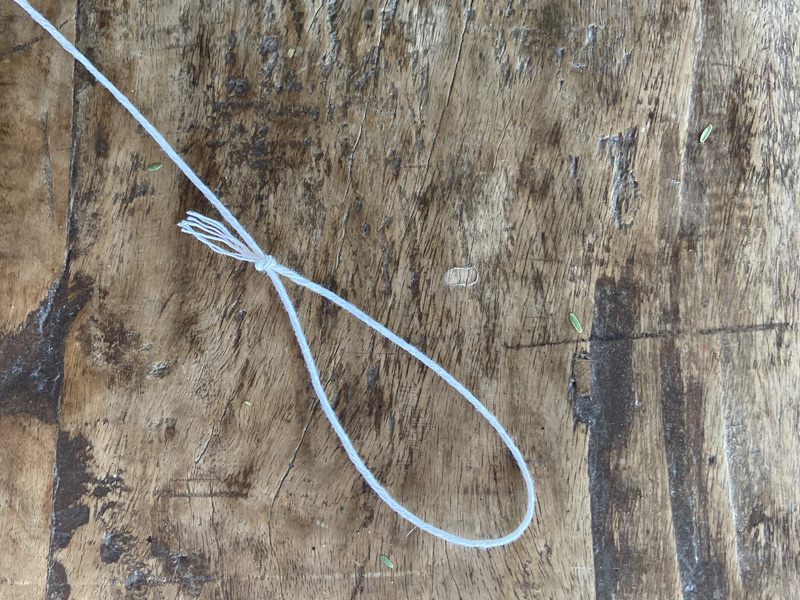
- Begin with an arms-length (about 4 feet) amount of string and tie it in a loop. Hang this loop on a hook, on a branch, etc. This loop will be length of your ristra.
- With another piece of string, tie a simple slipknot on one end.
- Group three chiles by their stems and cinch the slipknot. Wrap the string around the stems 2-3 times and secure with a half hitch by making a loop with your fingers counter clockwise and tightening over the stems.
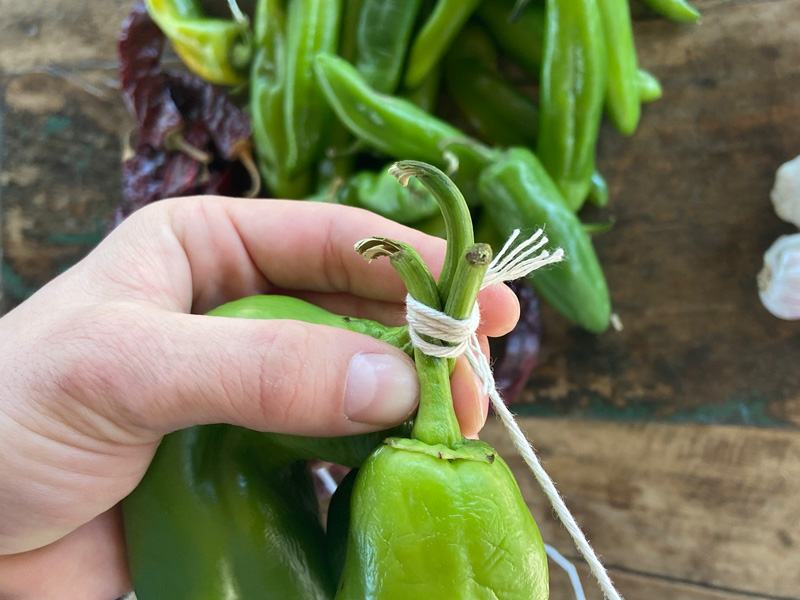
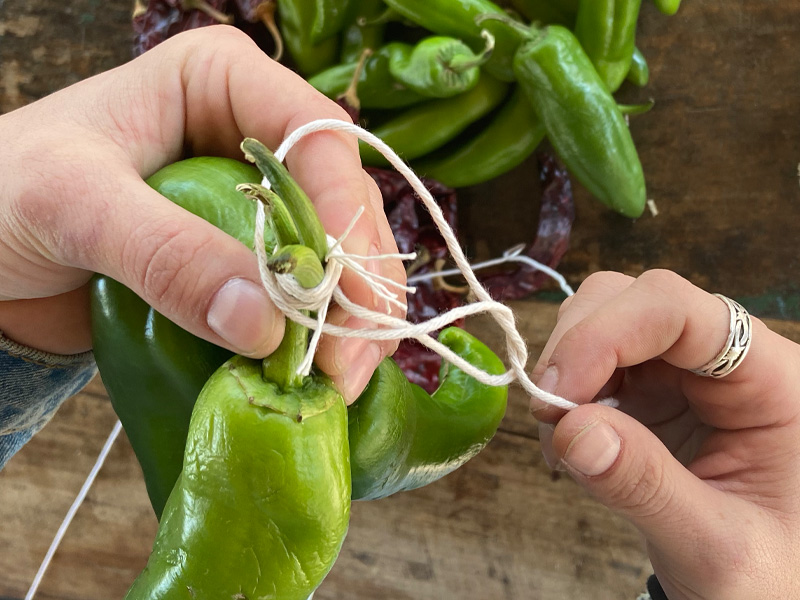
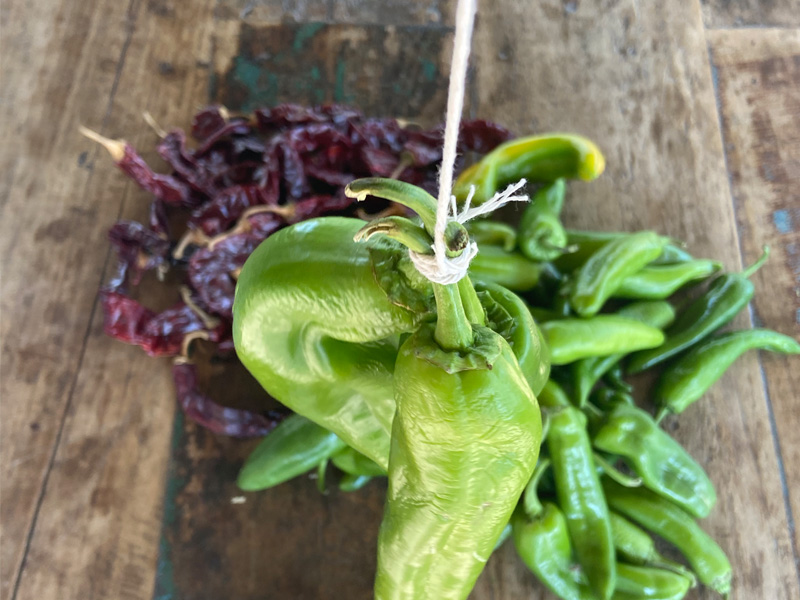
- Make another half hitch about 5 inches away from first grouping of chiles and group the next three chiles, wrap around twice and half hitch. At the end of the line tie a double knot at the end to keep the string from unraveling.
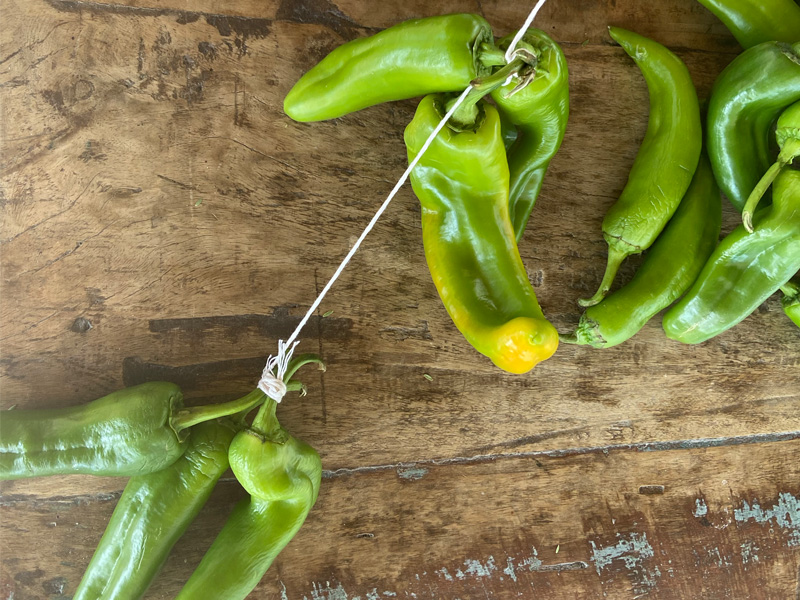
- Continue until all chiles are used. It may also be easier to split it into several strands instead of one long one.
- Pick up chiles and begin positioning them at the bottom of the loop, braiding them into the loop making sure the chiles will stay in place.
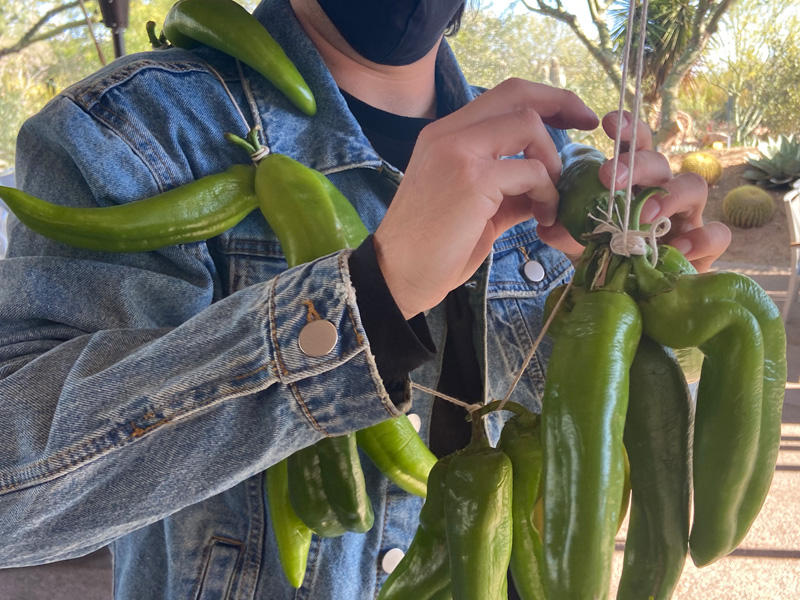
- Continue until you reach the desired length and simply tie a knot to hang the ristra.
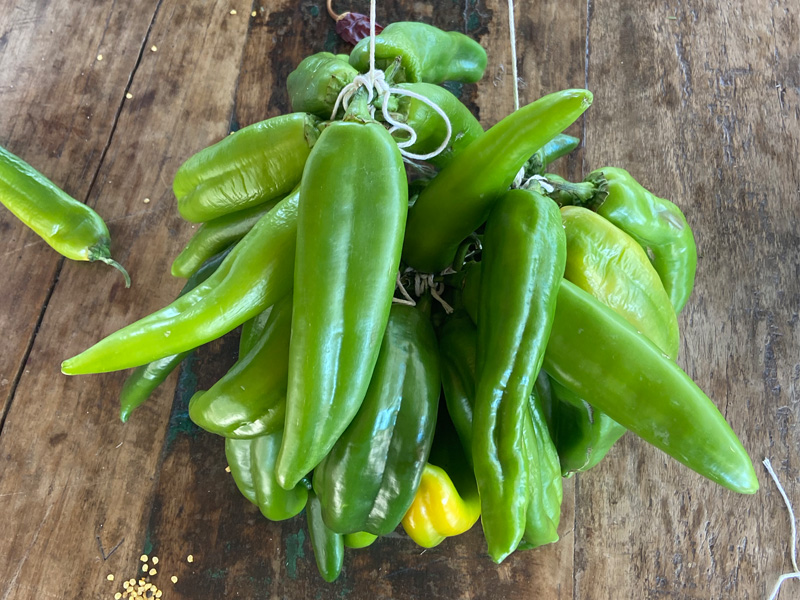
- Corn husks can be used as a decoration to top your ristra. Run a fork through the corn husks to get long strands and bunch the strands and with a piece a string tie the strands as you would a broom.
- Hang in a place where it will stay dry and get some airflow. If it gets wet, the chiles could spoil and ruin the ristra.
