A great summertime activity is to collect small leaves and flowers to dry and preserve. These natural keepsakes remind us of special outdoor adventures. They can also be used to make homemade gifts for friends and loved ones. Try this DIY plant press activity that involves reusing common materials.
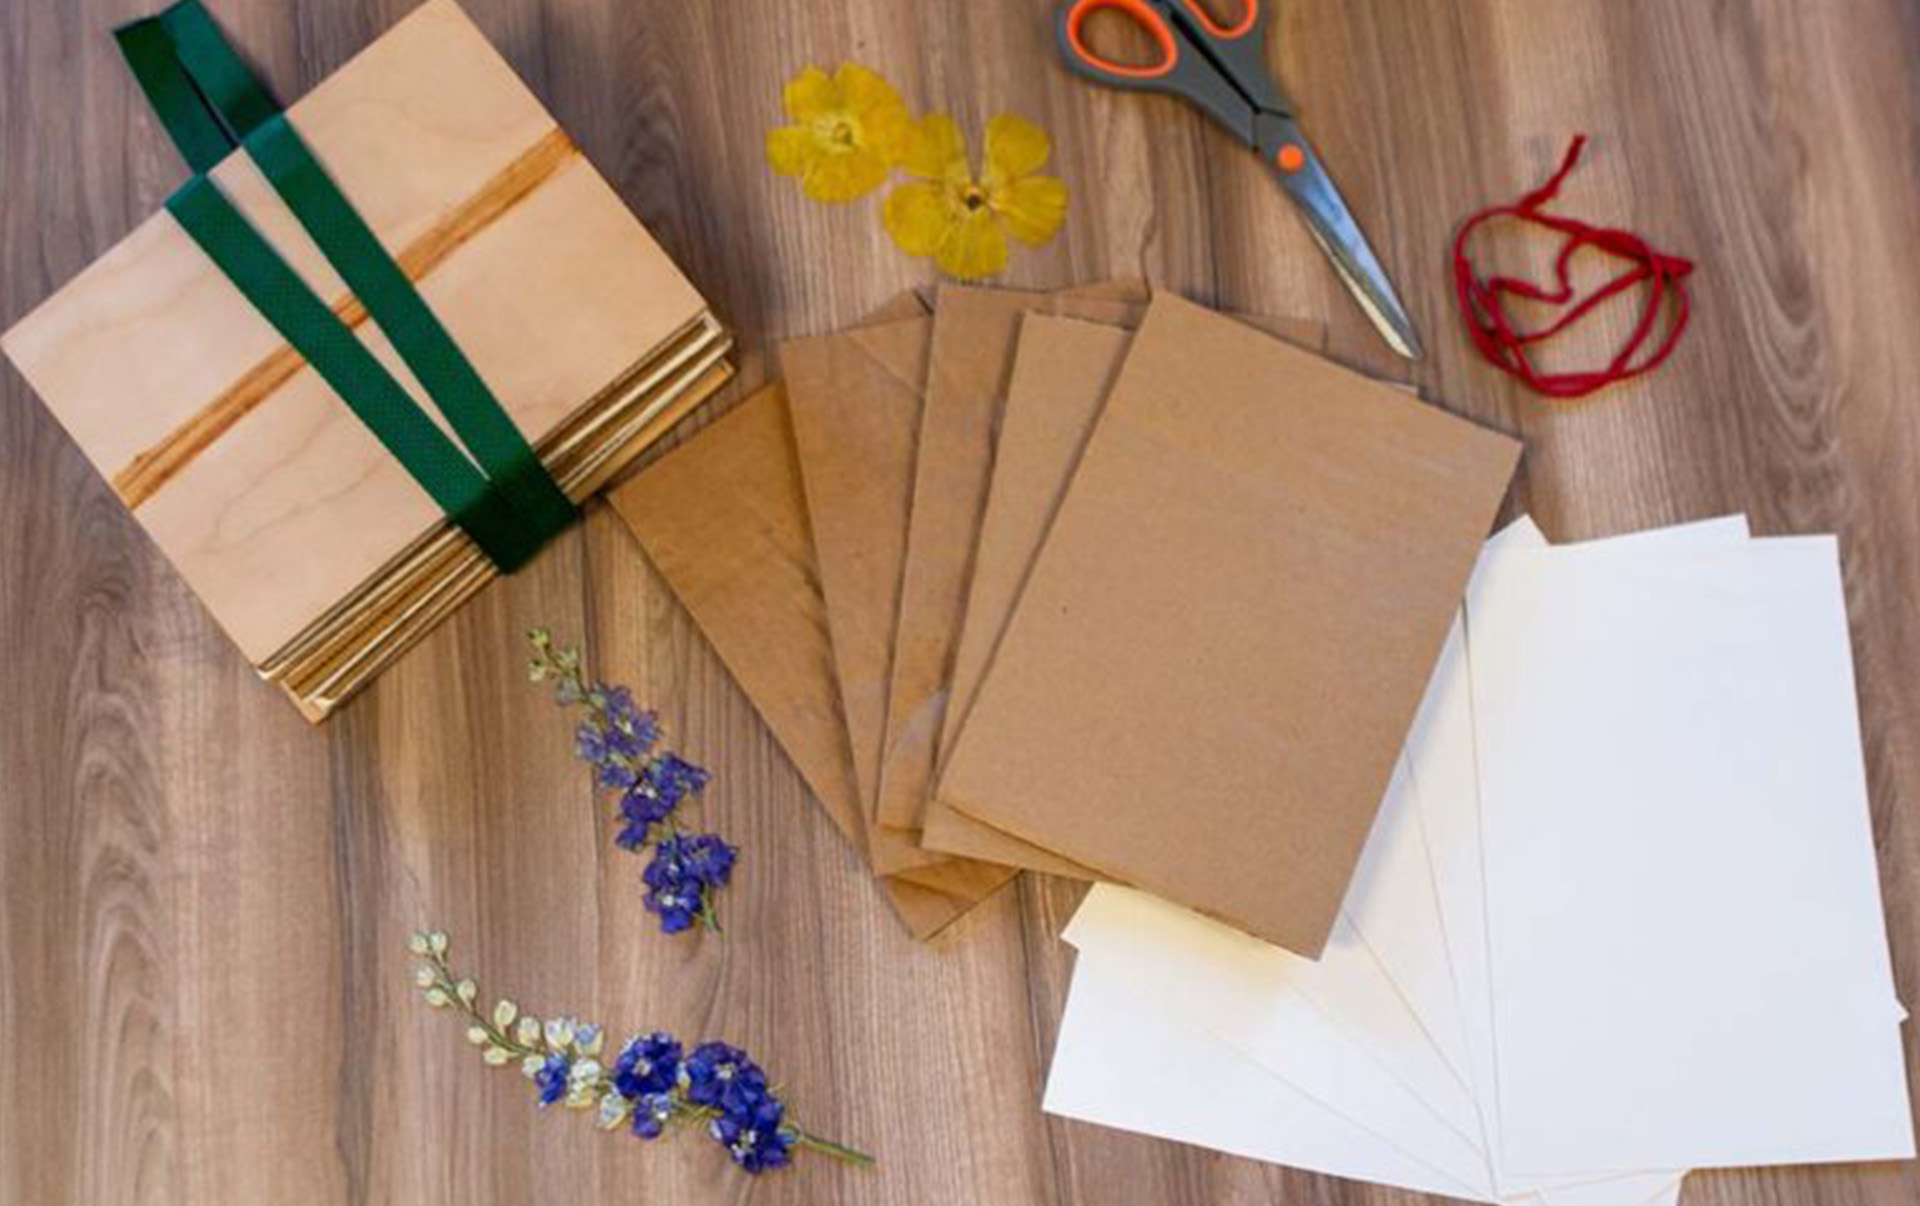
Materials Needed:
- Leaves and Flowers (see collecting tips below)
- Corrugated Cardboard – eight pieces, cut to equal size
- Newspaper – 14 pieces, cut the same size as the cardboard
- String, rubber bands or heavy books for flattening plant specimens
1. Collect your plant materials
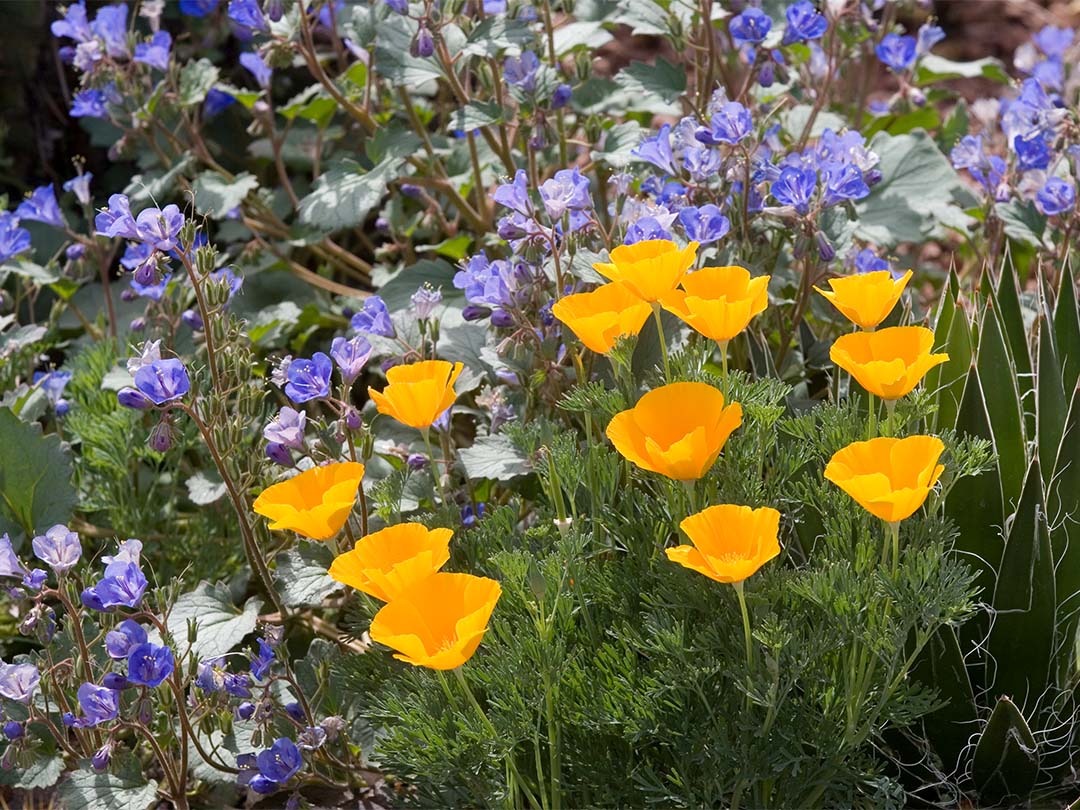
It’s best to collect fresh, living plants for pressing, when they are free of rain. Kids can use scissors to snip flowers, leaves or small plants.
Tip: Select small, flat flowers, as they tend to press better than bulky ones. You can even try pressing individual petals of larger flowers. Collecting flowers at different stages of bloom can also inspire a more interesting display and allows you to experiment when pressing.
2. If you cannot press right away, seal your plants.
You’ll want to get plants in the press as soon as possible so they do not dry out before pressing.
To keep collected plants fresh, put them in a sealed plastic bag out of the sun. If you need to keep them overnight, a wet paper towel in the bag will keep them from wilting. If possible, label each bag with the type of flower or leaf collected.
Kids can press and protect plants in a hardcover book until placing them inside the planting press.
3. Pressing plants
A plant press lets you preserve the shape and color of your item. You want to create a setup that enables air movement to speed up the drying process. You will alternate layers of cardboard and newspaper for your press.
First, cut the cardboard and newspaper to the desired size for your press. The larger the pieces, the more space you will have for pressing. We recommend cutting everything into 6” x 6” squares for your first press.
Next, you will start to alternate layers of material in this order:
- Cardboard
- Newspaper
- Plant Materials
- Newspaper
- Cardboard
In between each paper, layer in the plant press and insert your prepared plant. You can add multiple plants next to one another, just make sure they are spread out to preserve the natural shape and do not touch one another.
You can continue to add layers in this order until you run out of materials. Note that the very bottom and very top layers will be cardboard, with sandwiches of newspaper and plant material in between each piece of carboard.
4. Pressing and Drying plants
When you finish layering materials, you will press them. This is done by squeezing all the layers together as flat as possible. For your DIY press, you can tie string or wrap rubber bands tightly around the entire press, being careful not to crease or damage the cardboard. You can also put a heavy book on top of the entire plant press to flatten everything.
Check your specimens in a week. They should be very dry to the touch before removing from the press. Handle carefully as they can break or crumble.
5. Using the finished materials
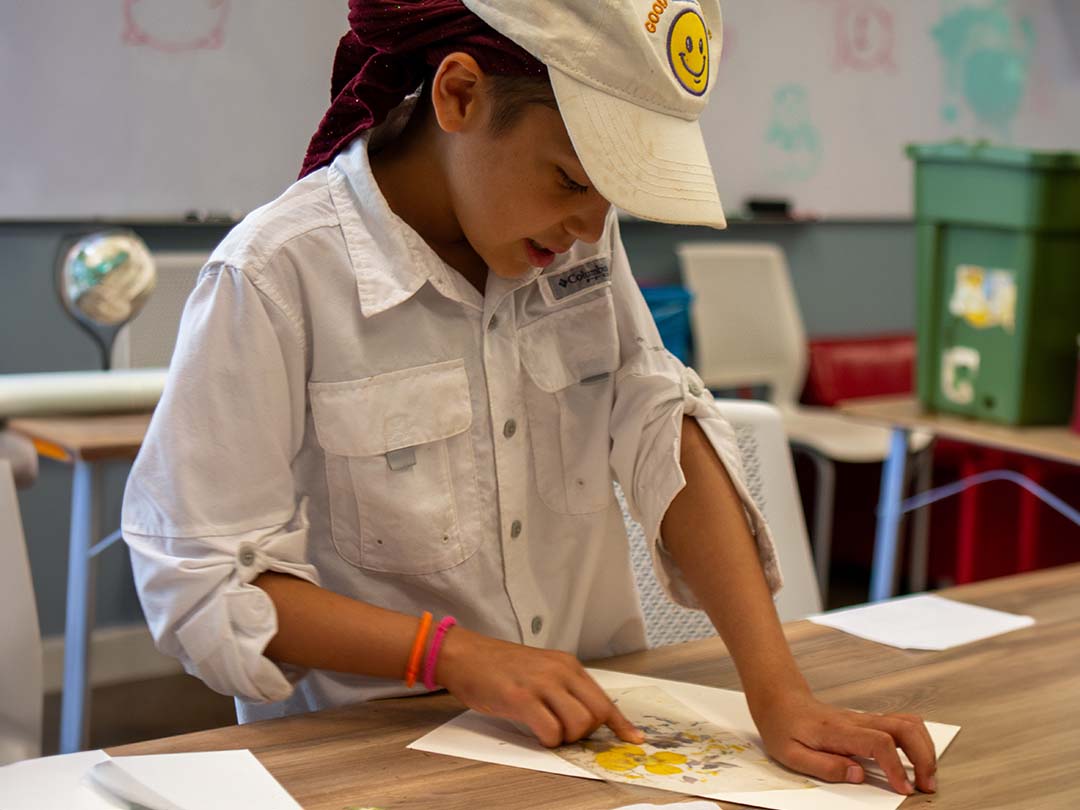
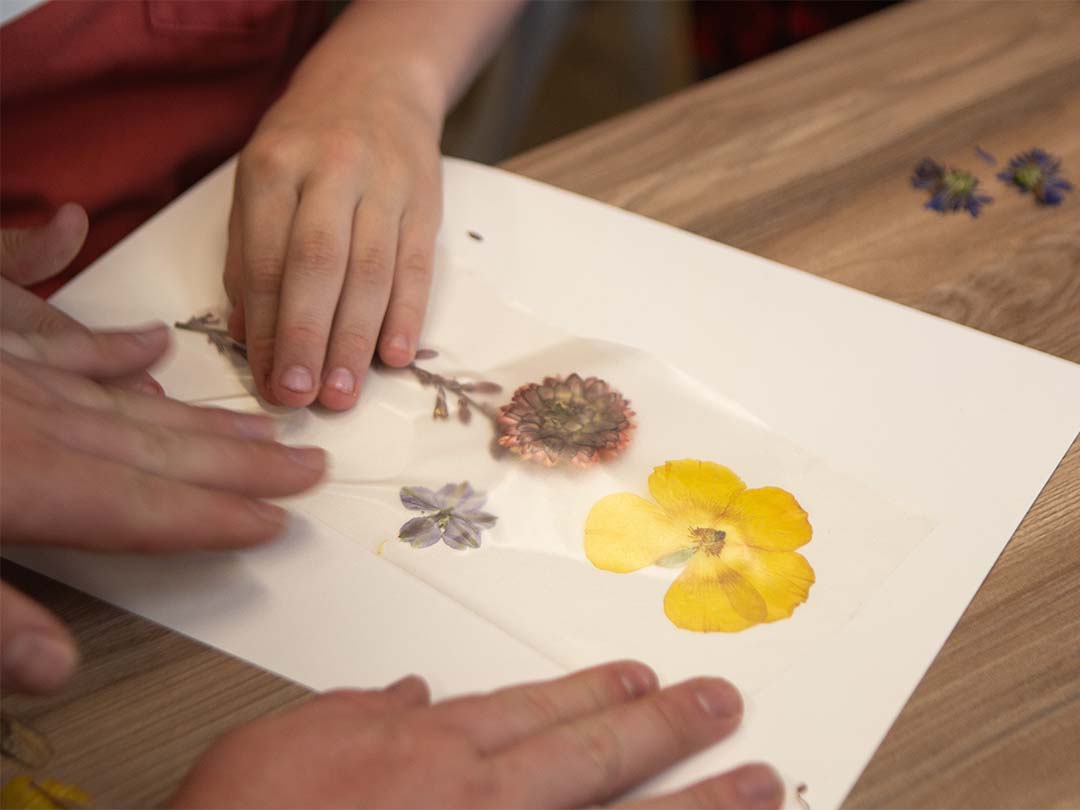
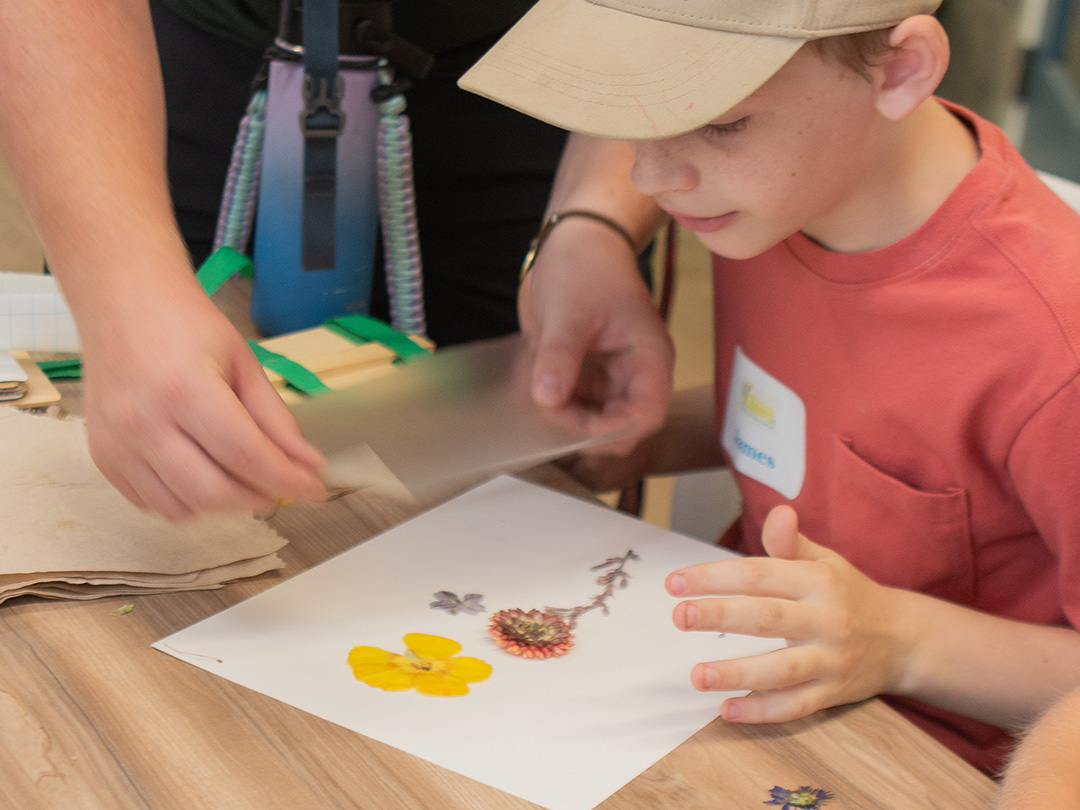
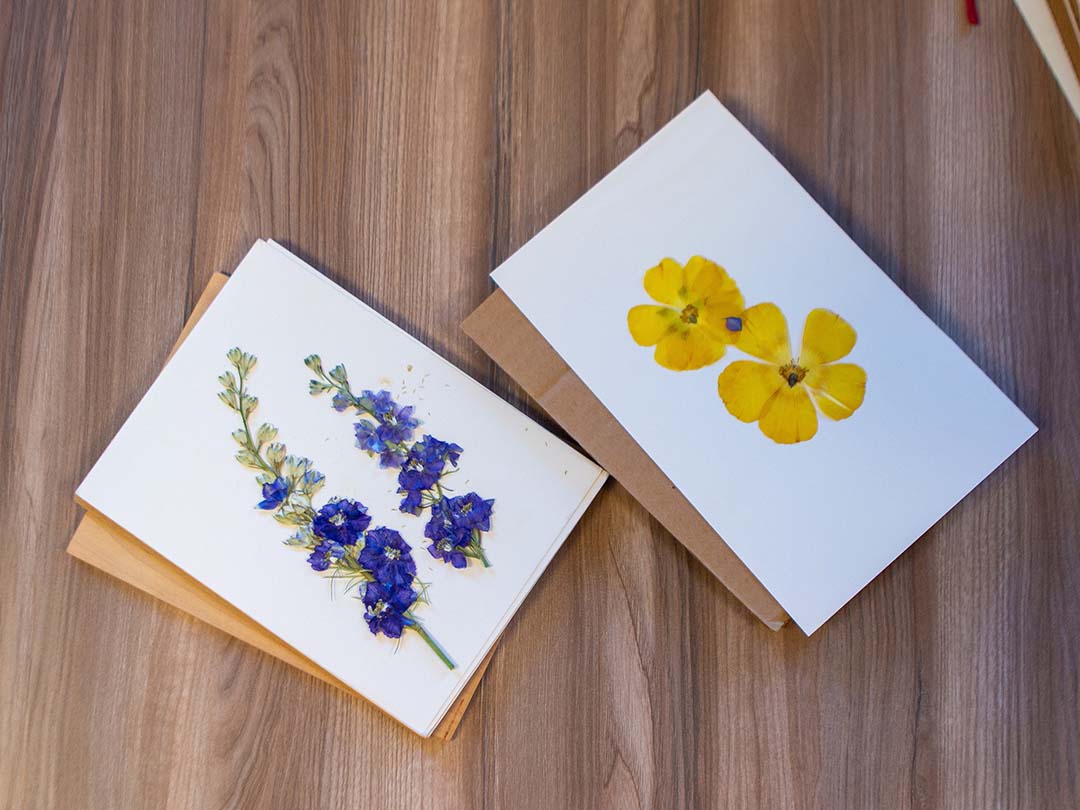
Now that you have finished plant and flower specimens, use them to make a homemade card or a nature journal.
This is an activity featured at one of Desert Botanical Garden’s Summer Camps. It’s not too late, register your child for our camps starting in July. Explore the options here.
